The Scary Woods Tutorial
For those of you working through the owl block, you might find the sides of the owl a little difficult to create, so i have taken some photos to help you navigate the side sections. I will mention that it is important to follow the pressing instructions given in the pattern.
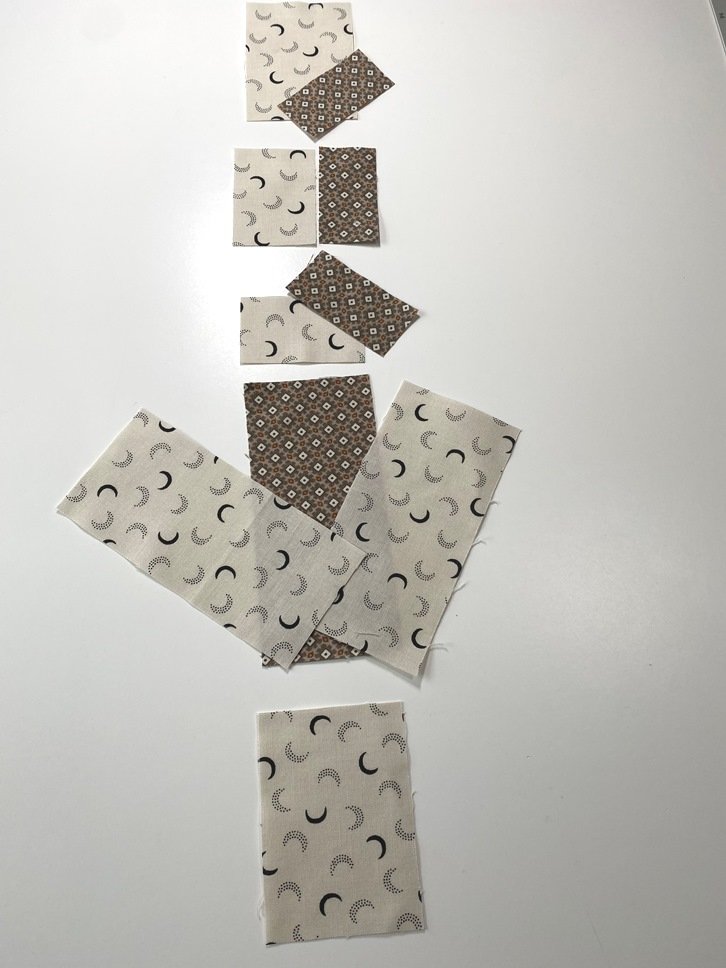

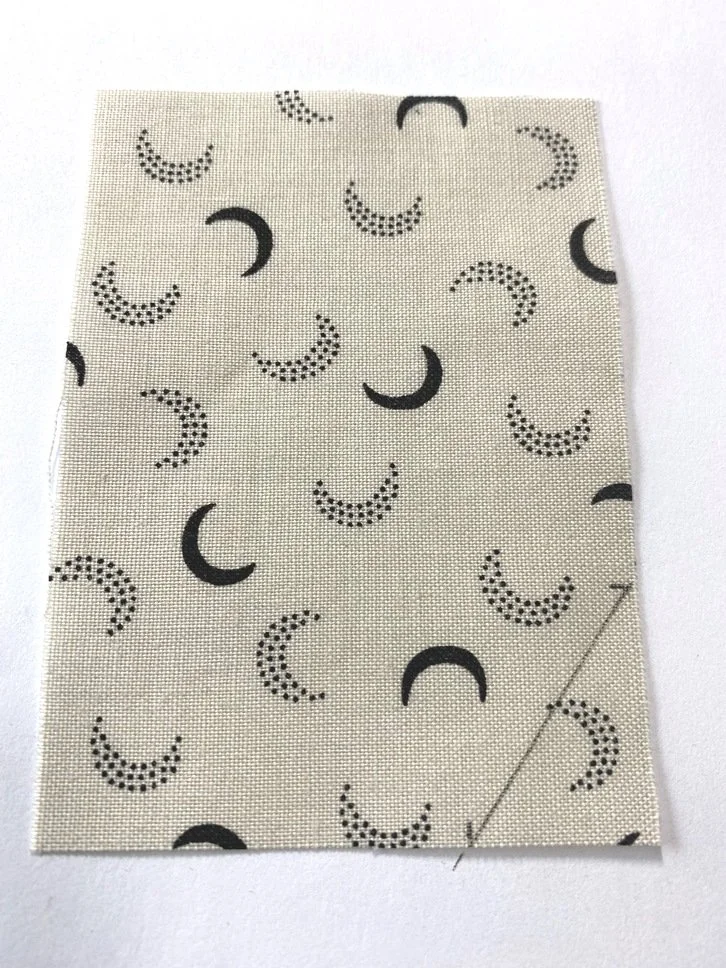
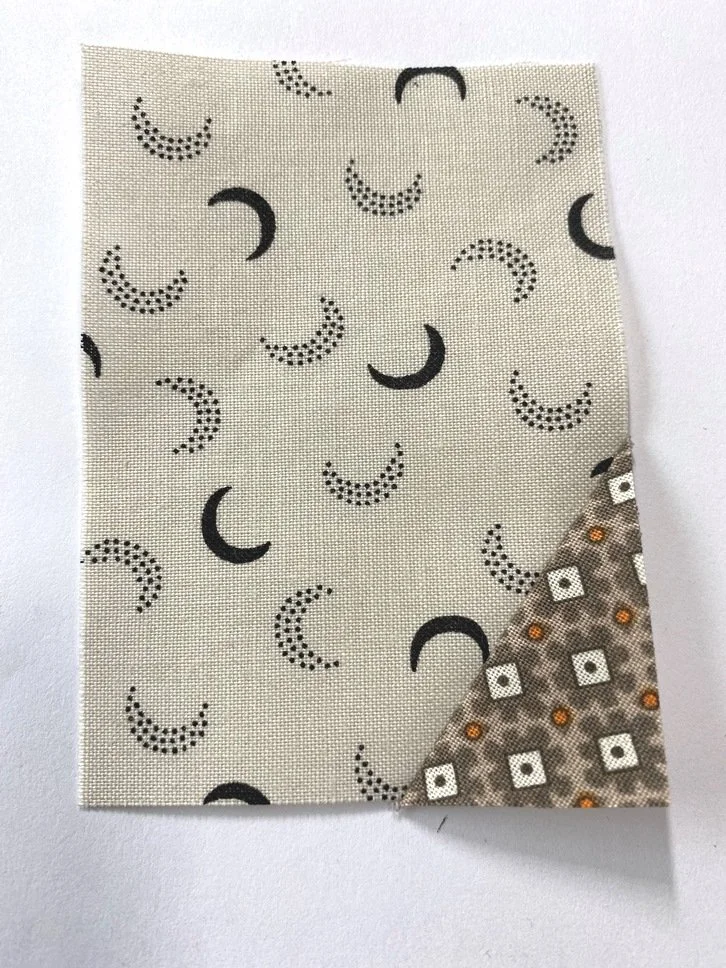
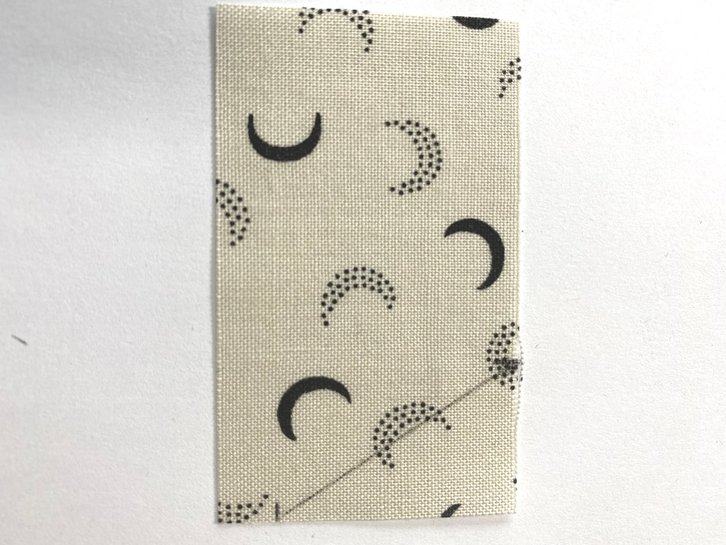
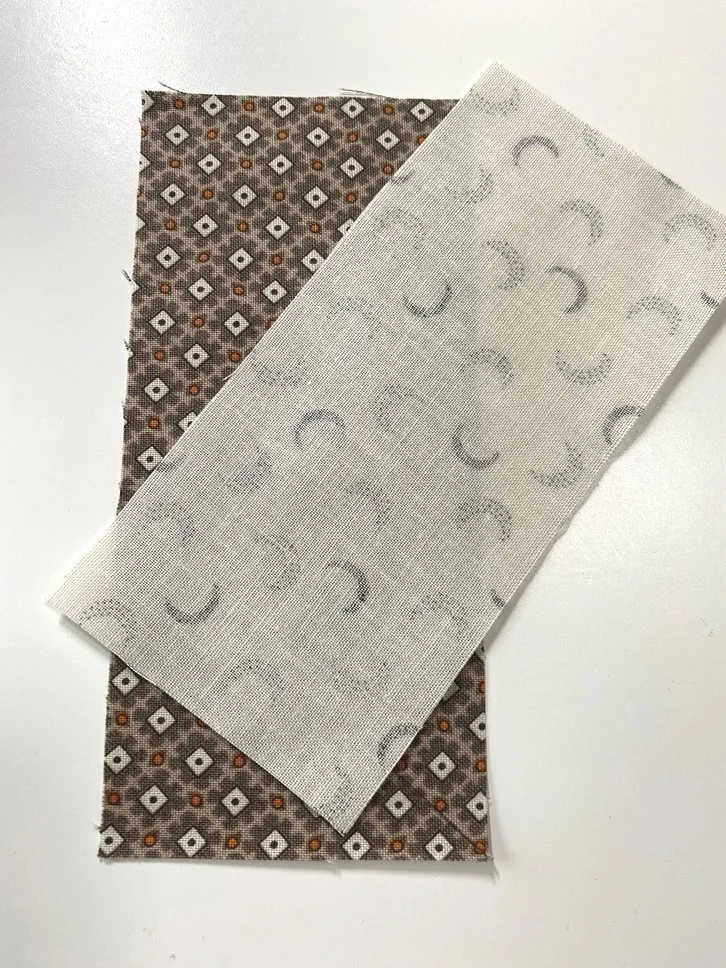
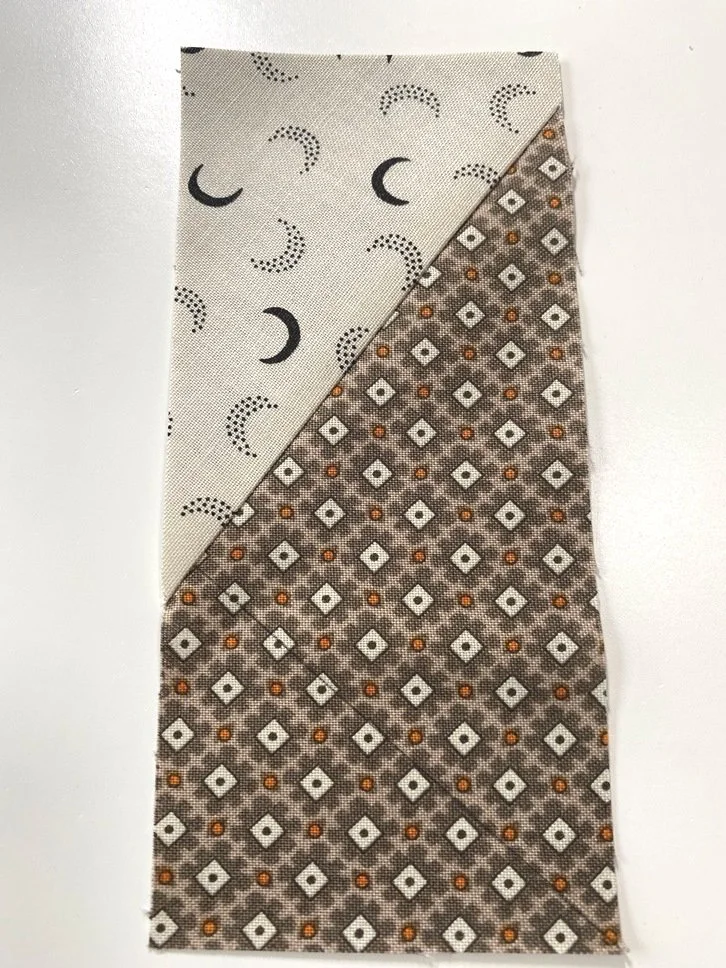
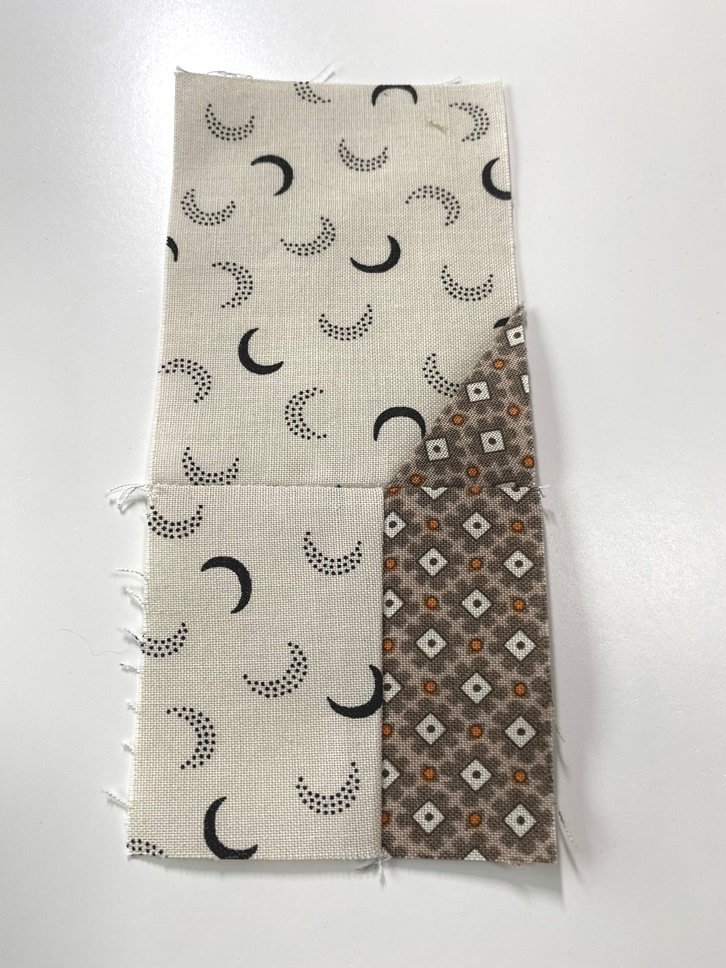
Photo 1 is the layout for the left side section of the owl, starting from the top is Unit ‘a’ ending with the bottom background rectangle as unit ‘e’.
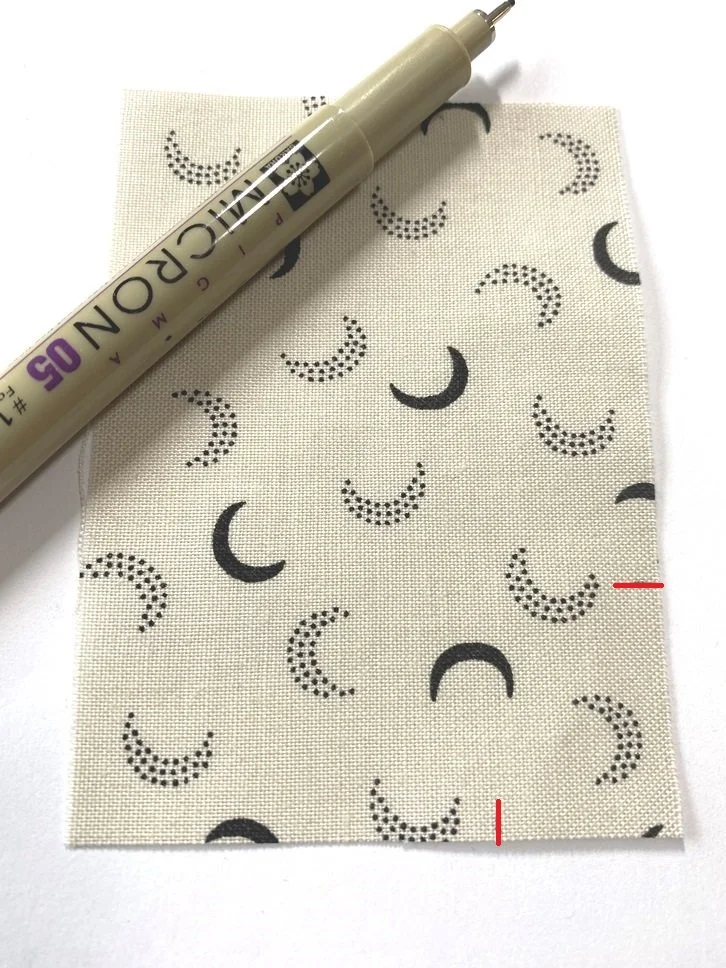
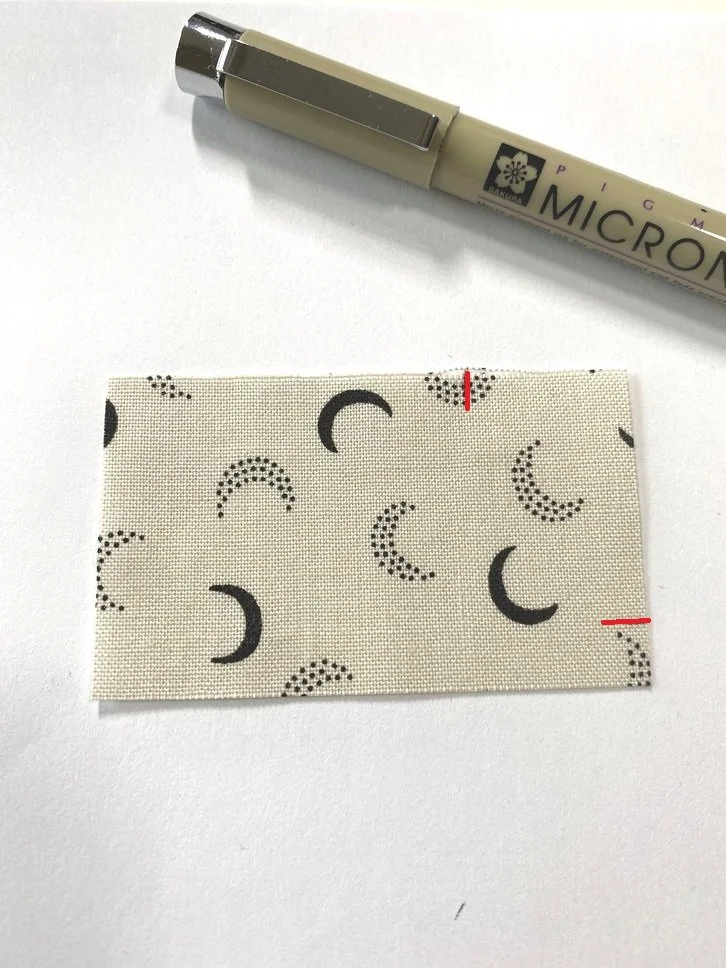
Refer to Unit ‘a’ on page 5 and make a mark 1” up from the bottom right hand corner and 3/4” over from the bottom right hand corner.
Draw a diagonal line between the markings

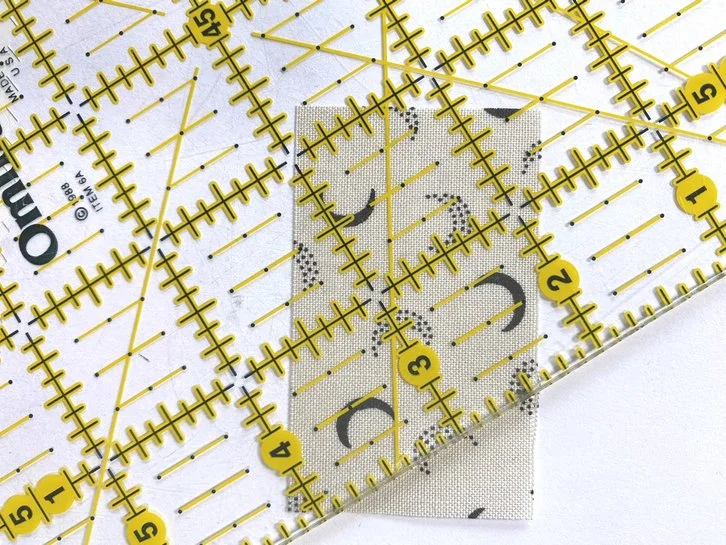
Place the brown owl fabric right sides together along the drawn line and stitch a 1/4” away. Press towards the brown and trim from the back side of the unit maintaining the size of the original background rectangle. Trim the excess underneath.

This complete Unit ‘a’.
Unit ‘b’ consists a background rectangle and an owl rectangle. Sew the two together to complete Unit ‘b’.
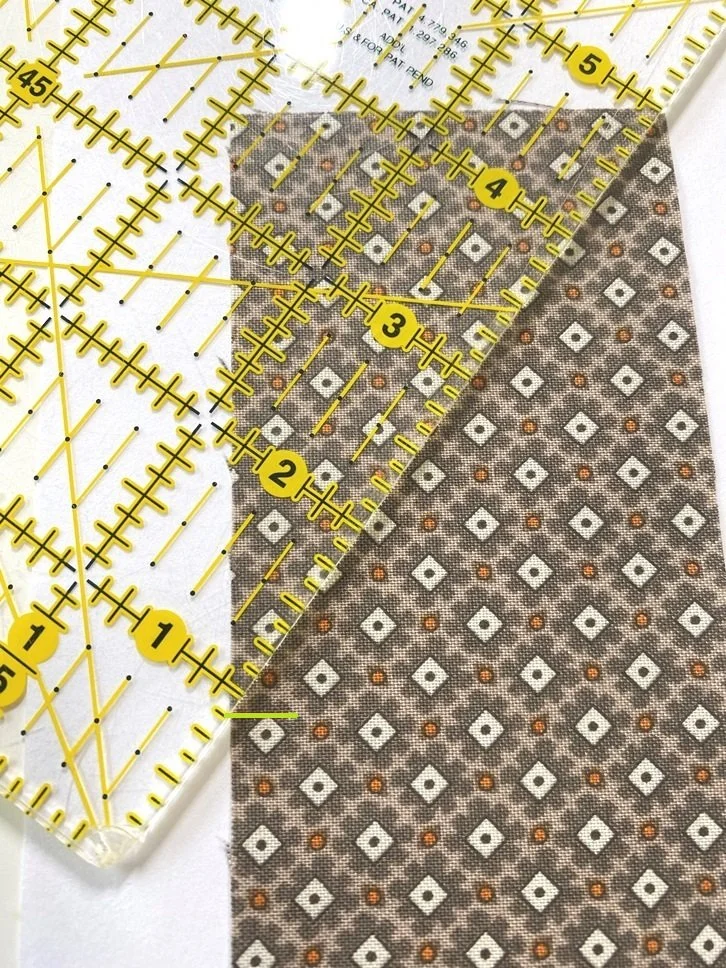
Unit ‘c’ begins by making a mark 3/4” over from the top right hand corner and a 1/4” mark up from the bottom right hand corner

Unit ‘c’ is much like Unit ‘a’. Draw a diagonal line between the 2 markings. Line the owl fabric right sides together along the drawn line, sew, flip and press. Trim underneath to complete Unit ‘c’

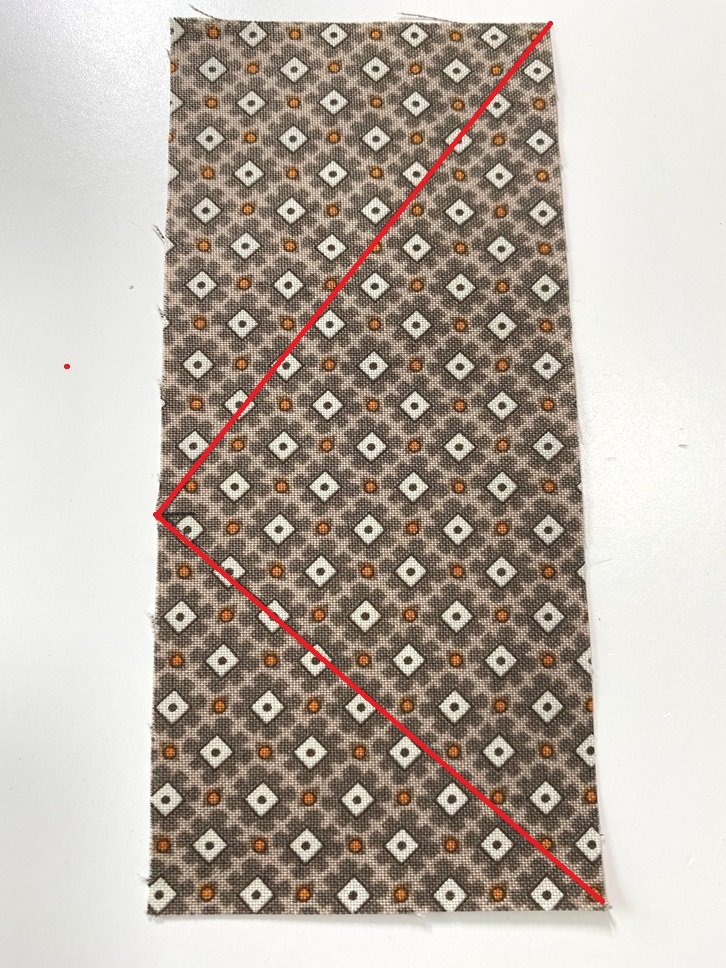
Begin the owl feather or Unit ‘d’ by making a mark 3-1/4” down the side.
Draw a diagonal line from the upper right hand corner to the mark
Draw a second line from the bottom right hand corner to the mark
With right sides together, place the background rectangle on the top line first.
Just like in the units ‘a ‘ and ‘c’, Unit ‘d’ is constructed using the same methods. Once the first background is stitched to the owl fabric, flip, and trim from the back side maintaining the size of the owl rectangle. Trim underneath.
Add the second background rectangle along the bottom line, sew, flip, trim and press. This completes Unit ‘d’.
Now we will piece all the units together beginning with Unit ‘a’ and ‘b’

Place ‘a’ and ‘b’ right sides together and pin the ends first. Then match and pin the seams together.

These little units can be tricky to line up. Here are some helpful tips:
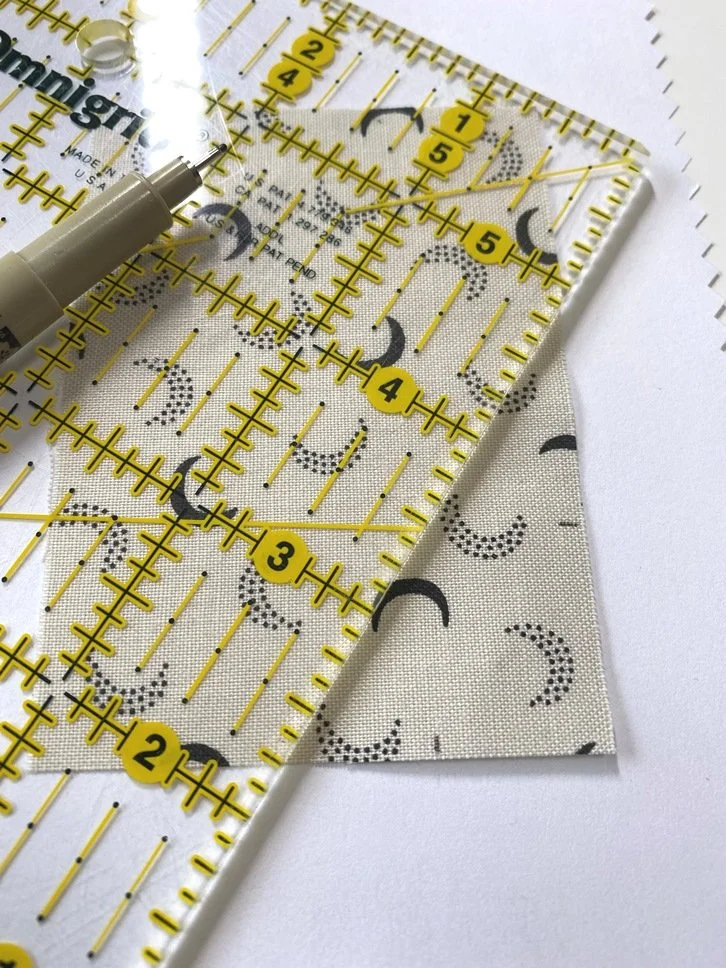
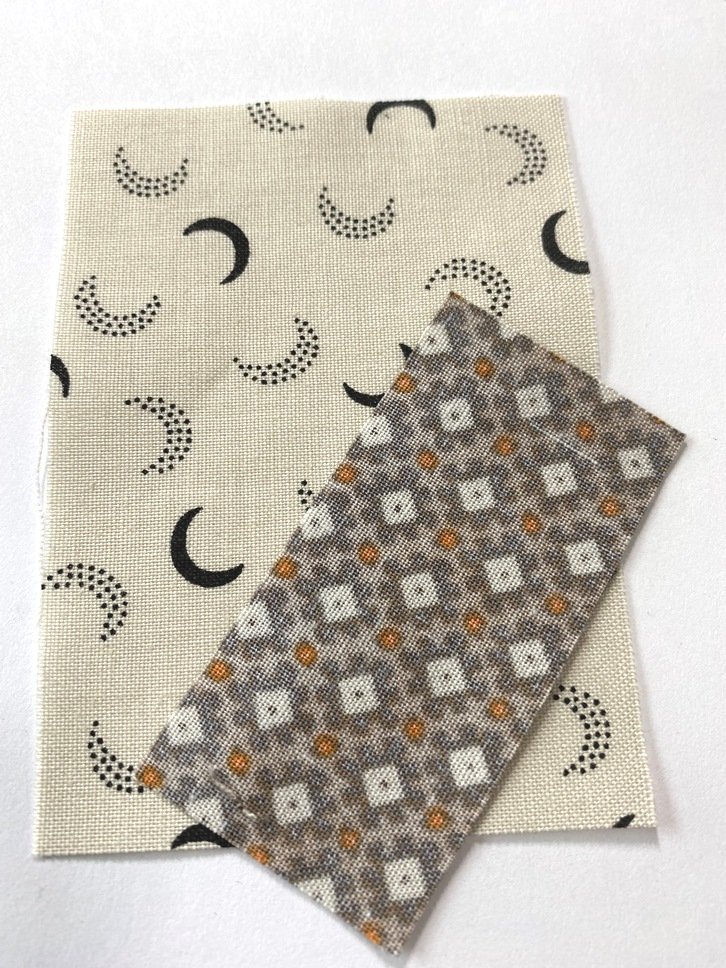
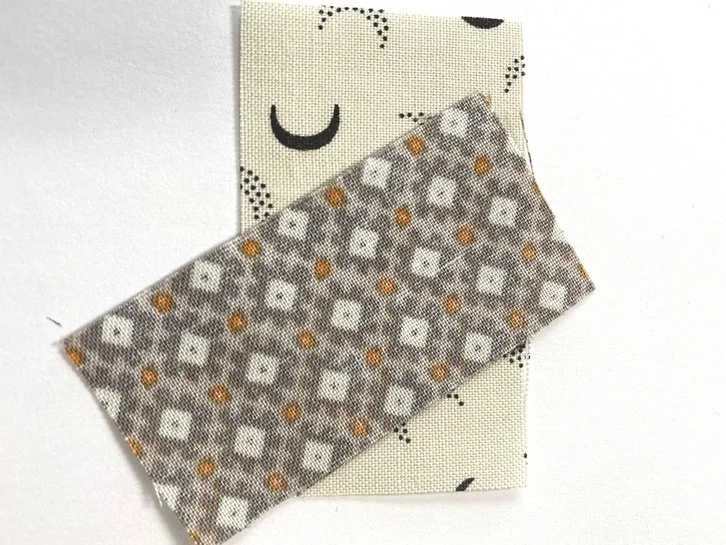
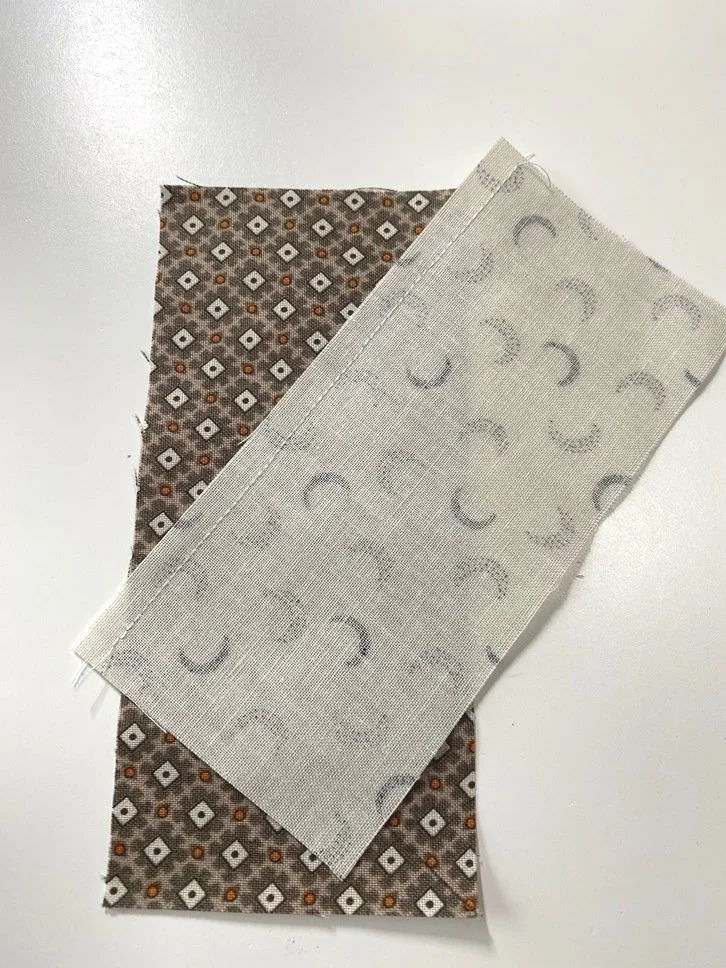
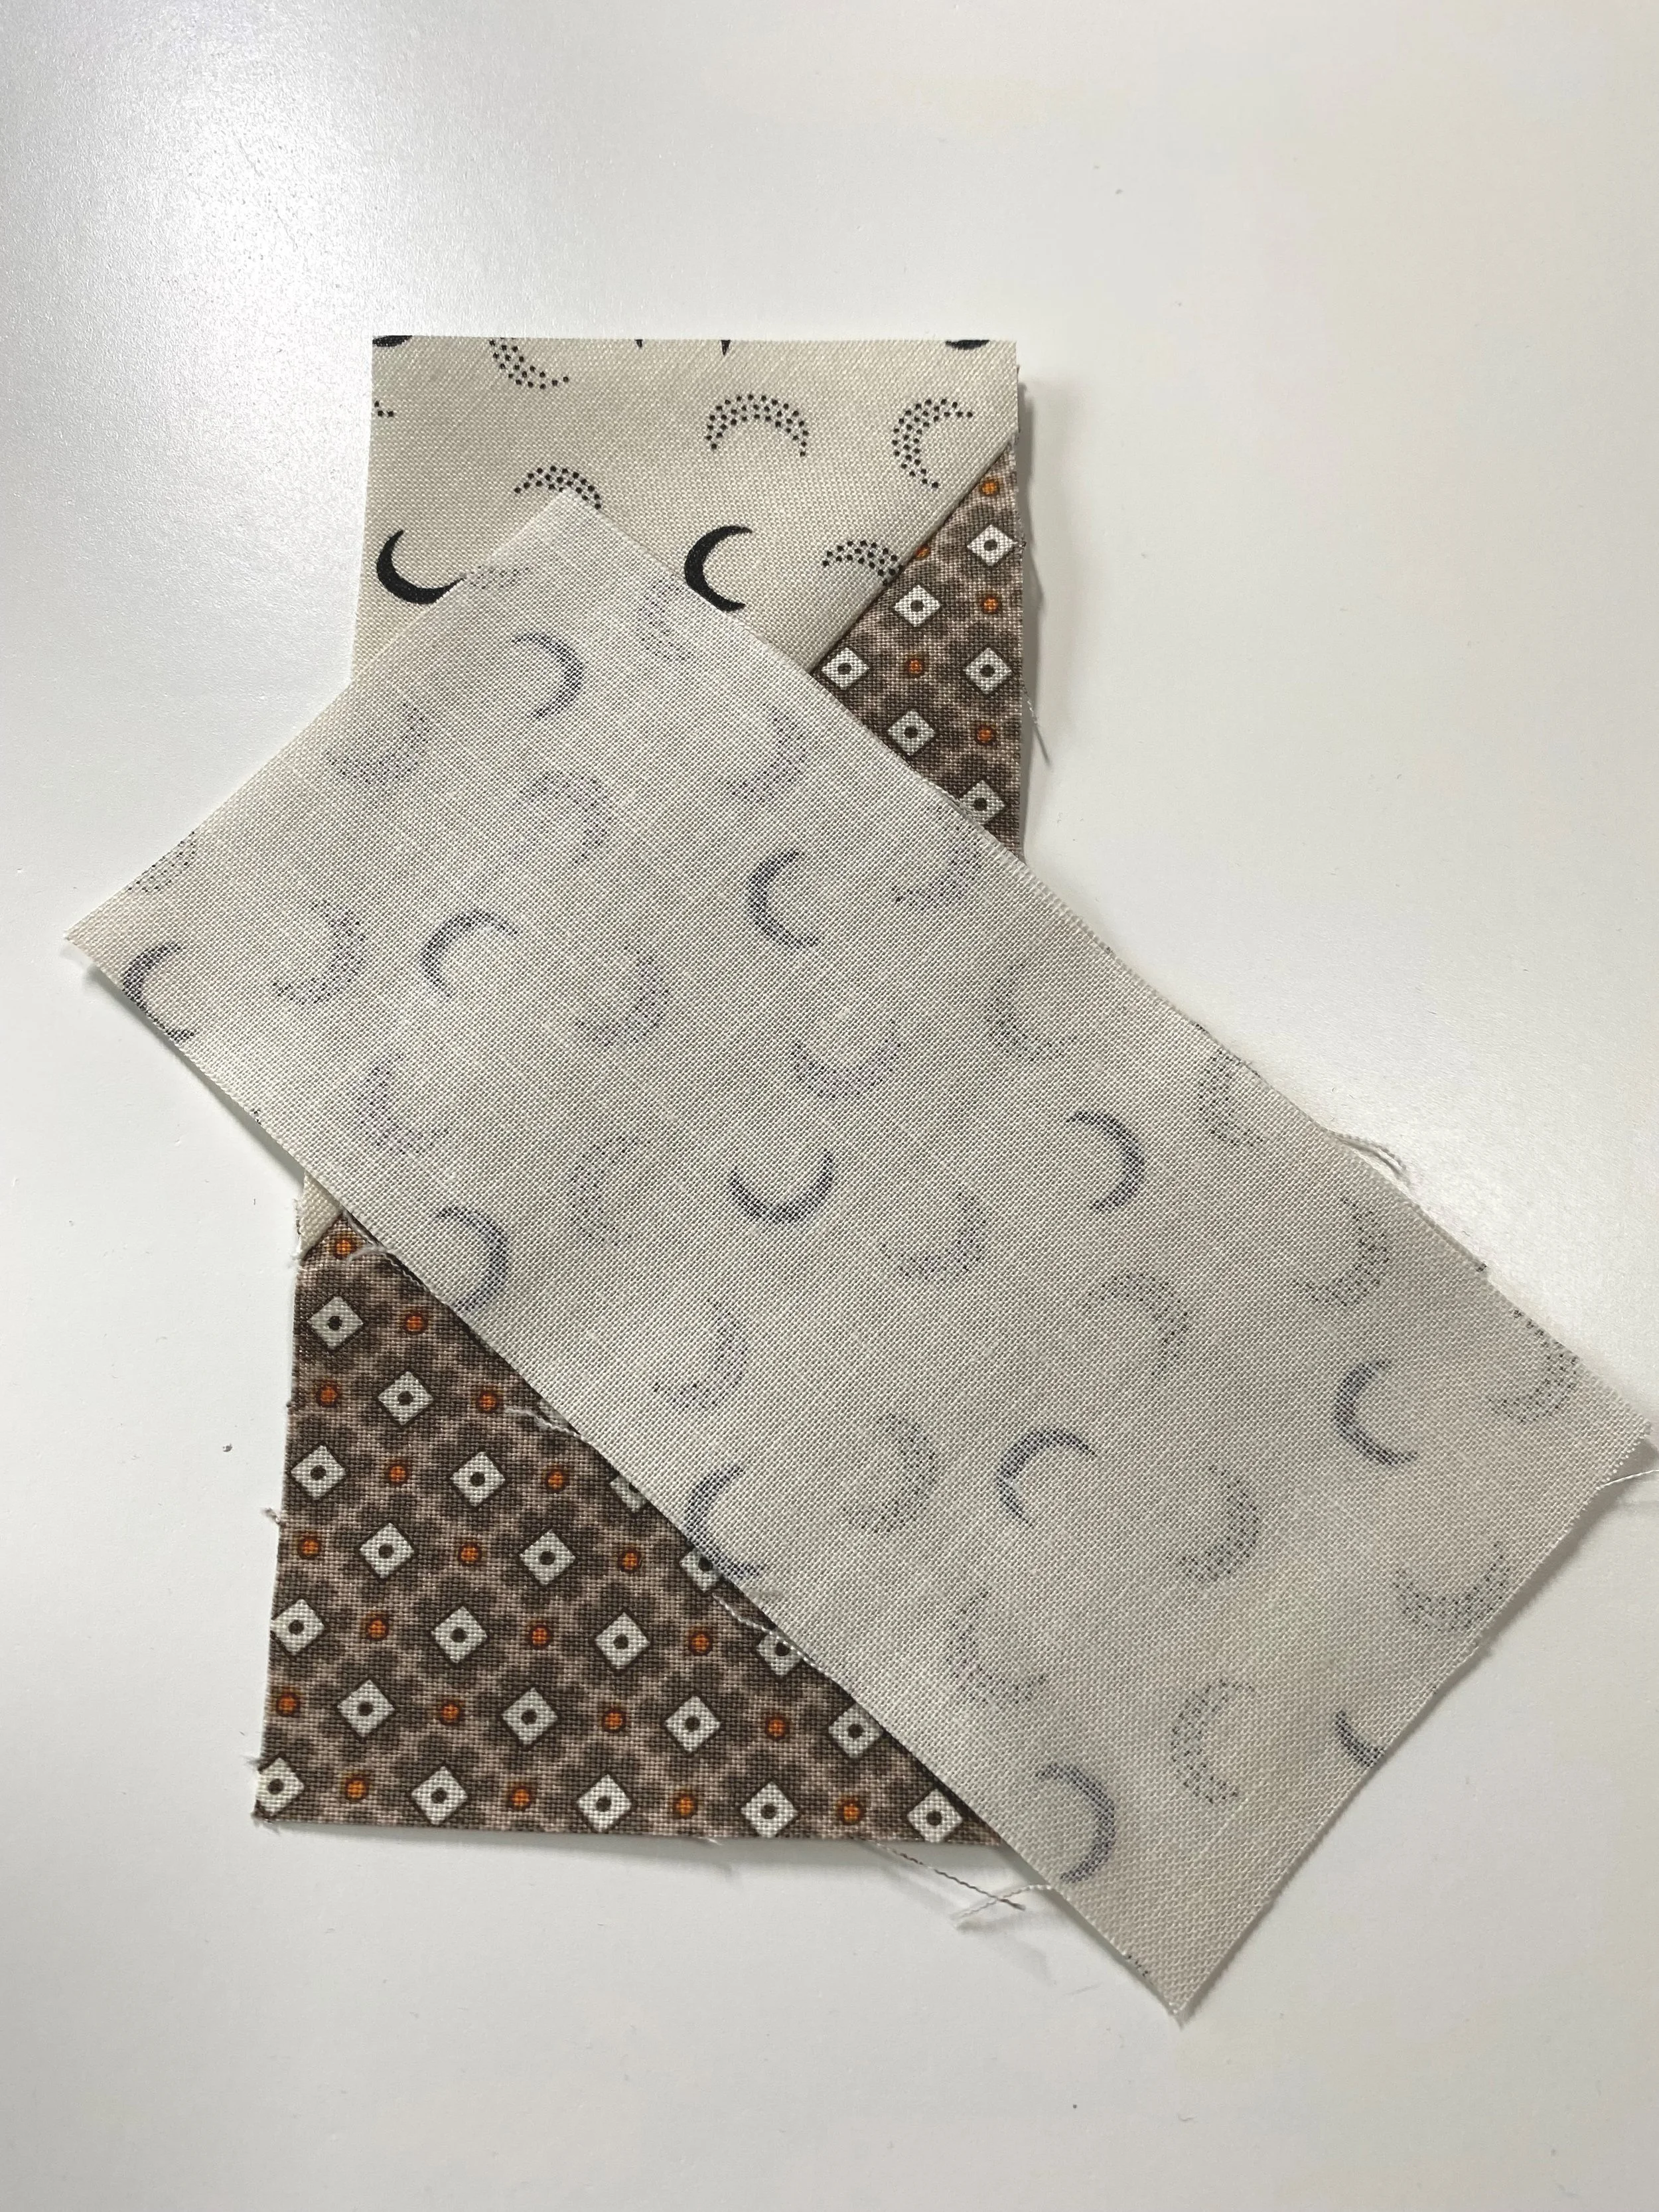
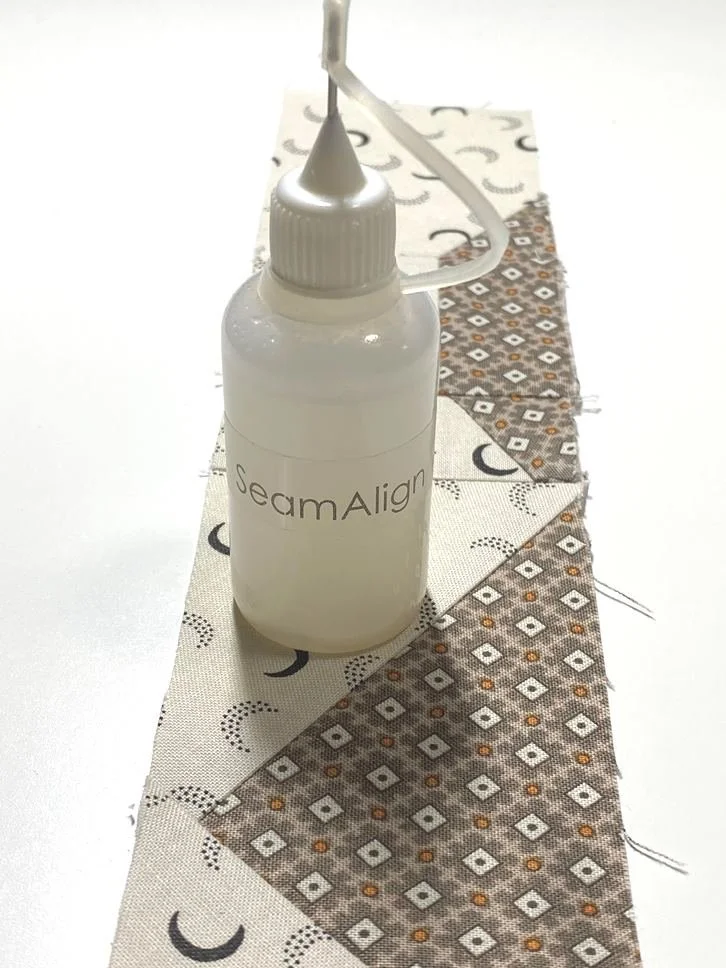
When lining up 2 units, i make a 1/4” mark across the diagonal seam and across the seam underneath. This identifies my seam allowance which helps line up the intersecting seams when i pin them together. I take a basting stitch across the intersecting seams (as shown in the second photo) to make sure everything lines up before I stitch it down for real. To be honest, i have a few that missed the mark. In the scope of things… we do our best. :)
There is also a great product called Seam Align. It's water soluble, non toxic, leaves no residue and once the seam is sewn together, you won't even know the light weight glue was there. As mentioned at the top of this tutorial, i use a lot of Magic Quilting and Crafting Spray. With the small pieces and bias edges, this product really prepares the fabric for situations like these.
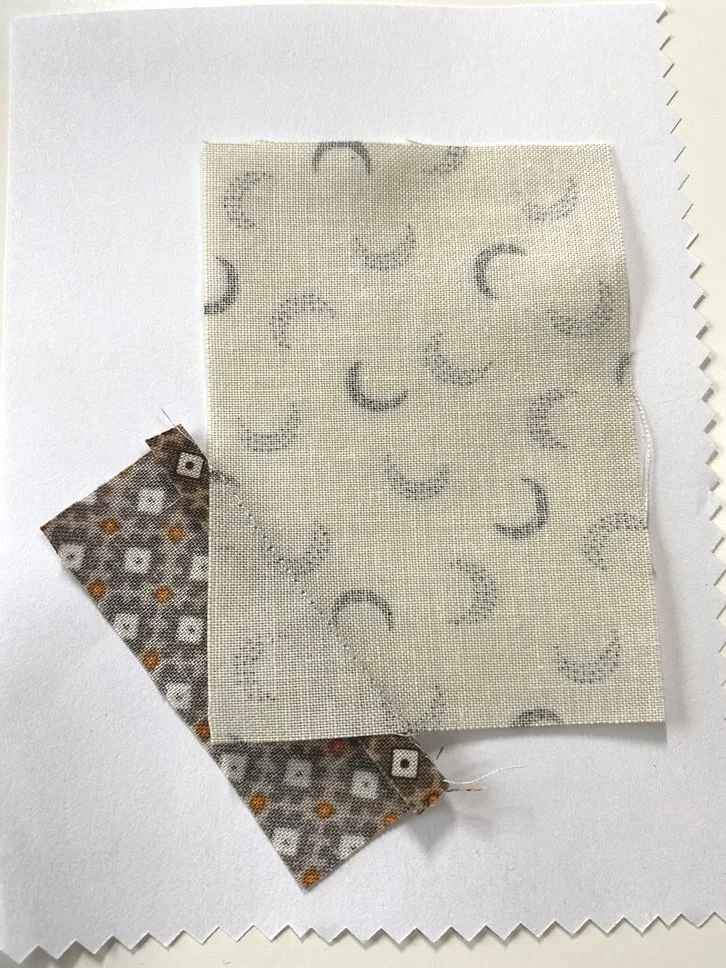
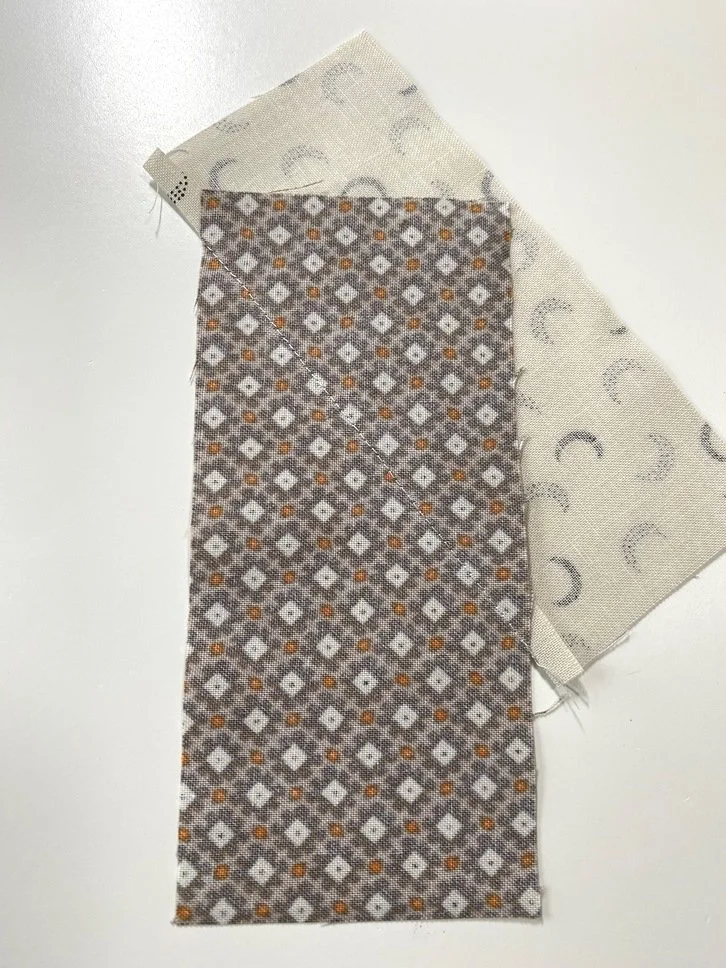
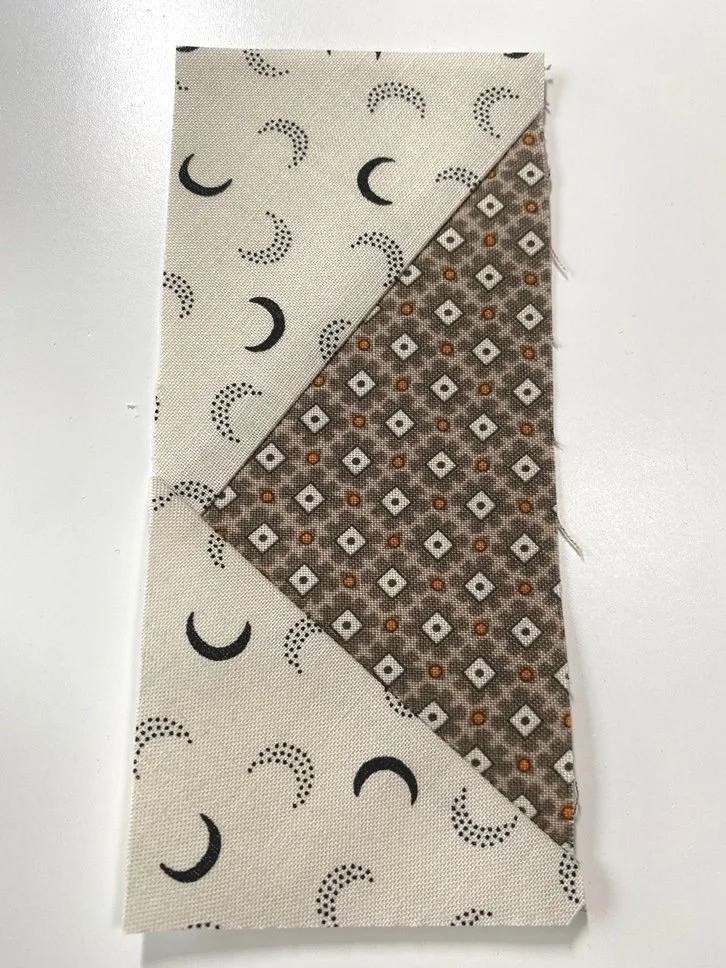
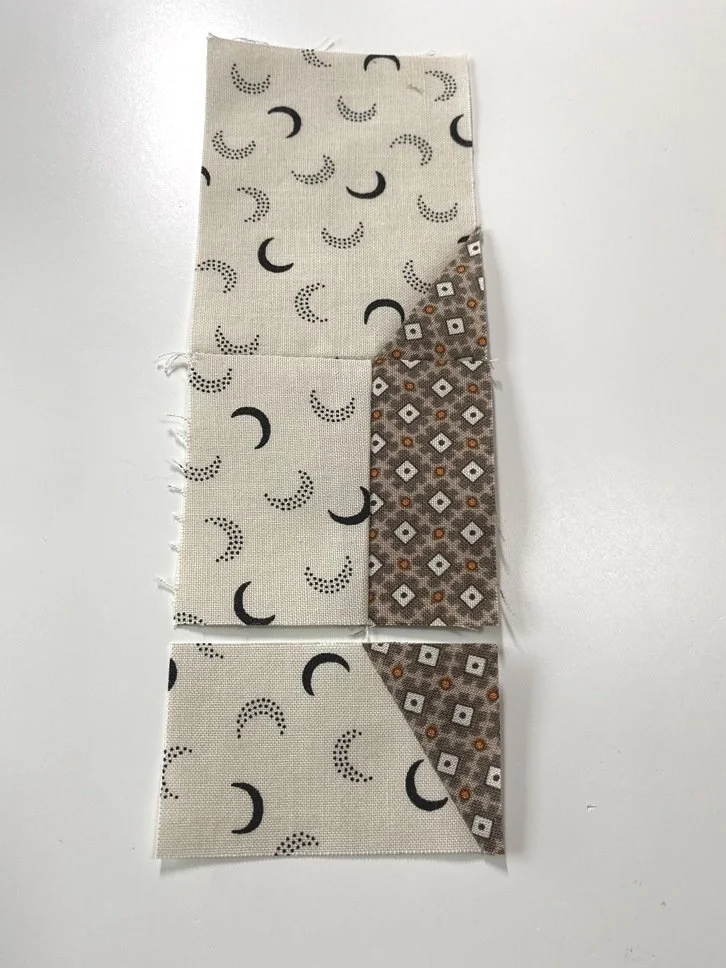
Once the two top units are stitched together, add Unit ‘c’ as shown in the third photo above.

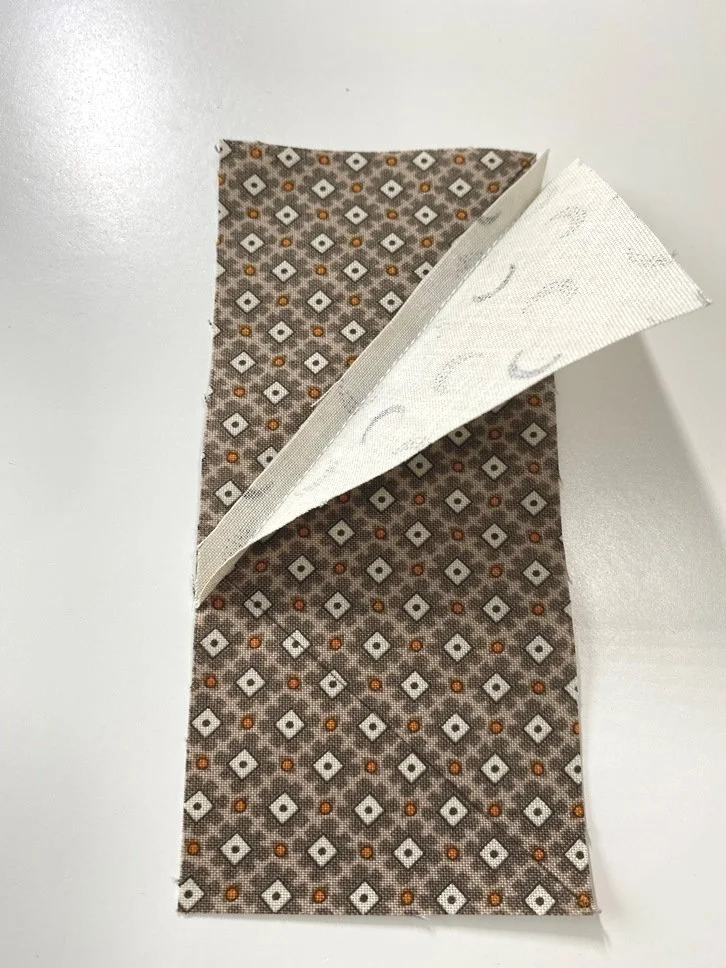
Complete the side section by sewing all the units together. The final Unit ‘e’ is listed on the top of page 6. Don’t forget to pay close attention to pressing instructions. I try to have seams nestle when i can.
This tutorial shows how to make the LEFT side section of the owl block. Page 5, Step 7 has a diagram of both the left and right side sections. I recommend laying out the fabric pieces (as shown in Photo 1 at the beginning of this tutorial) with the owl fabrics on the opposite sides of Units ‘a-c’ and the wing or unit ‘d’ will have the 3-1/4” mark on the opposite side of the brown rectangle to create the RIGHT side section.
And… Don’t forget to stabilize your fabrics before you cut them! I use Magic Quilting and Crafting Spray to tighten up the fibers and reduce bias stretch. It really helps!