
Learn to add Prairie Points for a Quilt Sleeve!
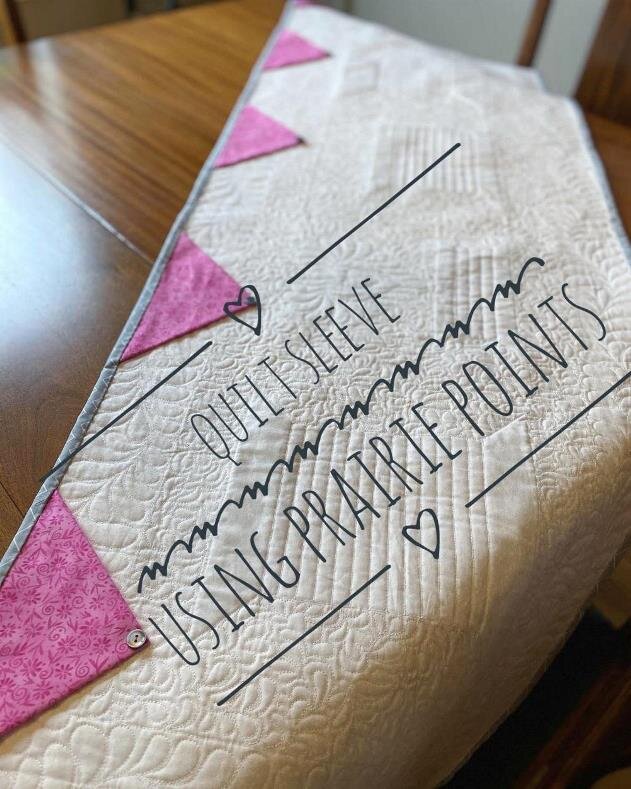
And it’s Cute Too!
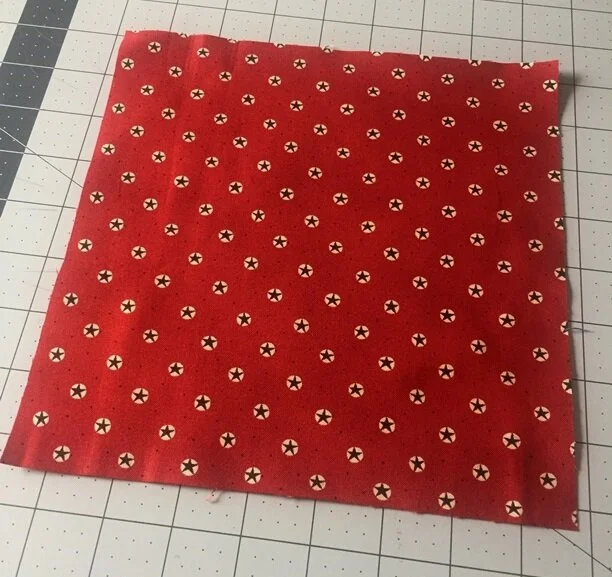
Begin with 6” to 8-1/2” squares depending on the size of the quilt and the desired size for the prairie points


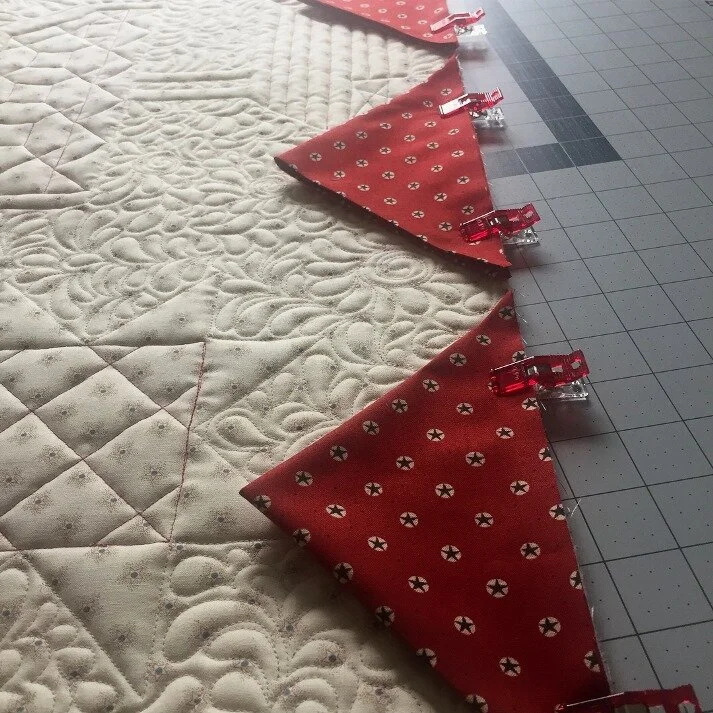
After the raw edge of the binding has been sewn to the quilt and before it is hand stitched to the back, place the raw edge of each Prairie Point along the raw edge of the quilt. Place them close together or space them evenly across the top of the quilt.
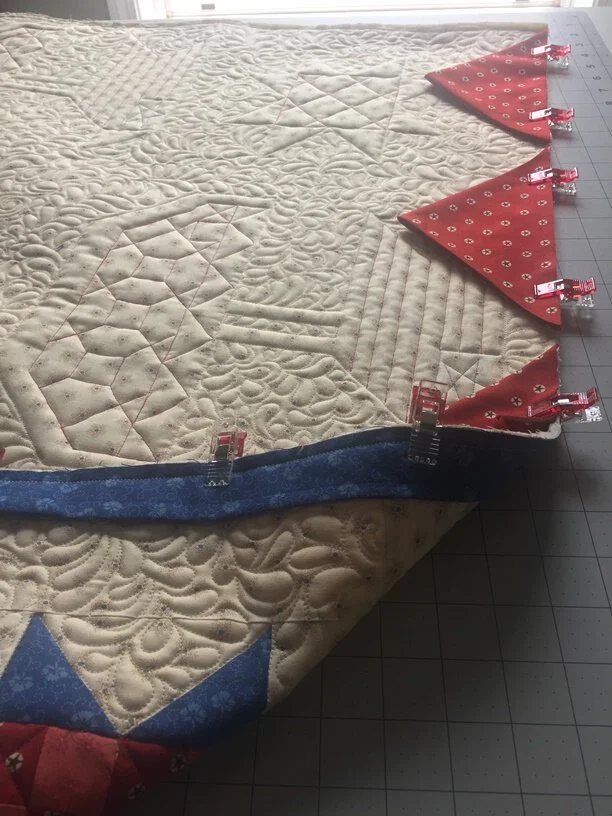
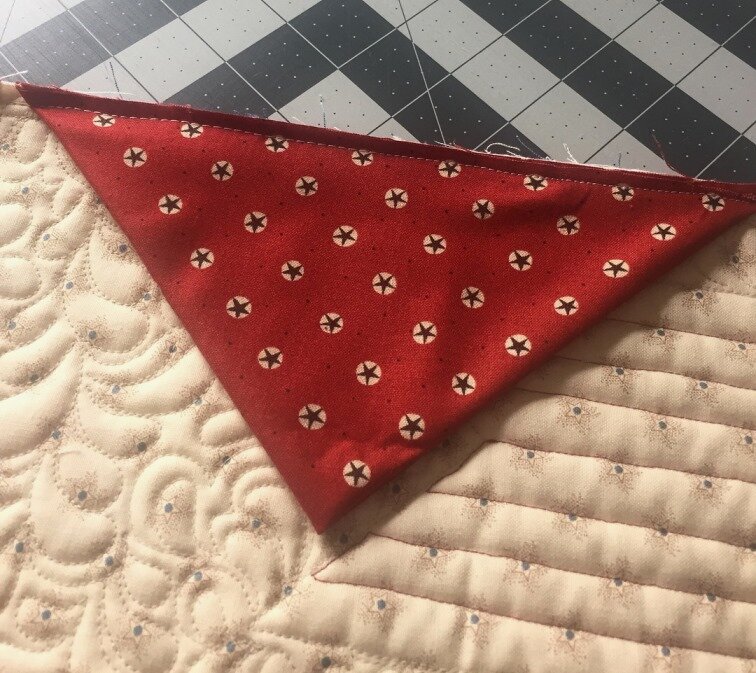
Baste each Prairie Point to the quilt, using less than 1/4” seam. The binding will cover up the stitching when it is folded over to the back and hand stitched.
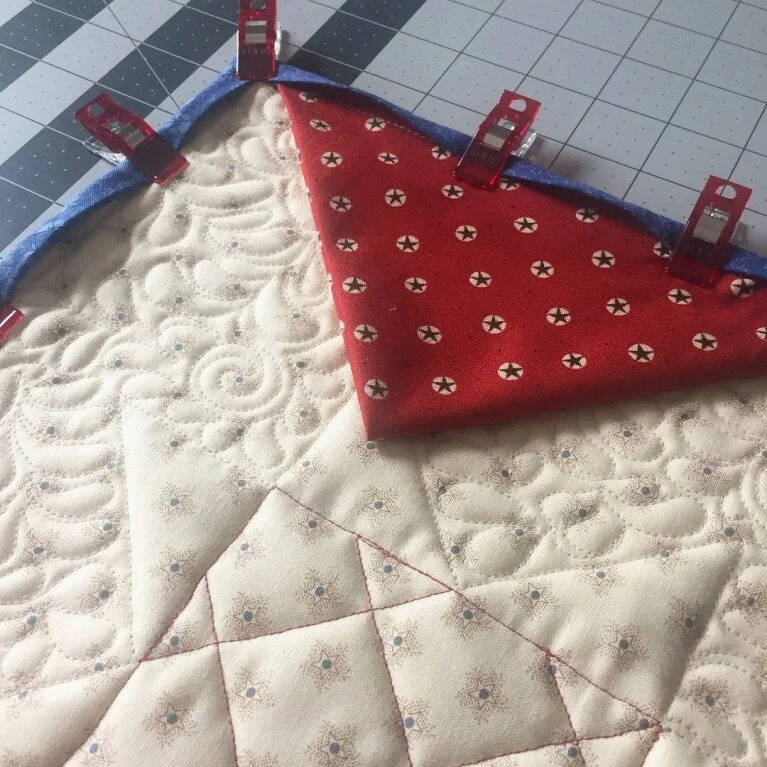
NOTE* Place the first and last Prairie Point approximately 1” in from each corner AND…make sure the open side of each corner Prairie Point is facing towards the center of the quilt. This will allow you to slip a dowel or rod inside if you choose.


Secure each point down with a tacking stitch not visible on the right side of the quilt. I added a button for a finished look! Super easy to do and in my opinion, beats the heck out of a long wonky tube sleeve! LOL
Both quilts shown can be found in my shop!

Spools of Love is a free pattern!
Star Spangled Picnic pattern is available for purchase. Below is a fun version of what can be done using the pattern blocks!
