
Making the Pencil Tips!
For those who have purchased the School's In Session quilt pattern or Color My World quilt pattern, below is a helpful step by step pencil tip pictorial!
Or Grab a printable pdf download of the Pencil Tip Tutorial by tapping the photo below.
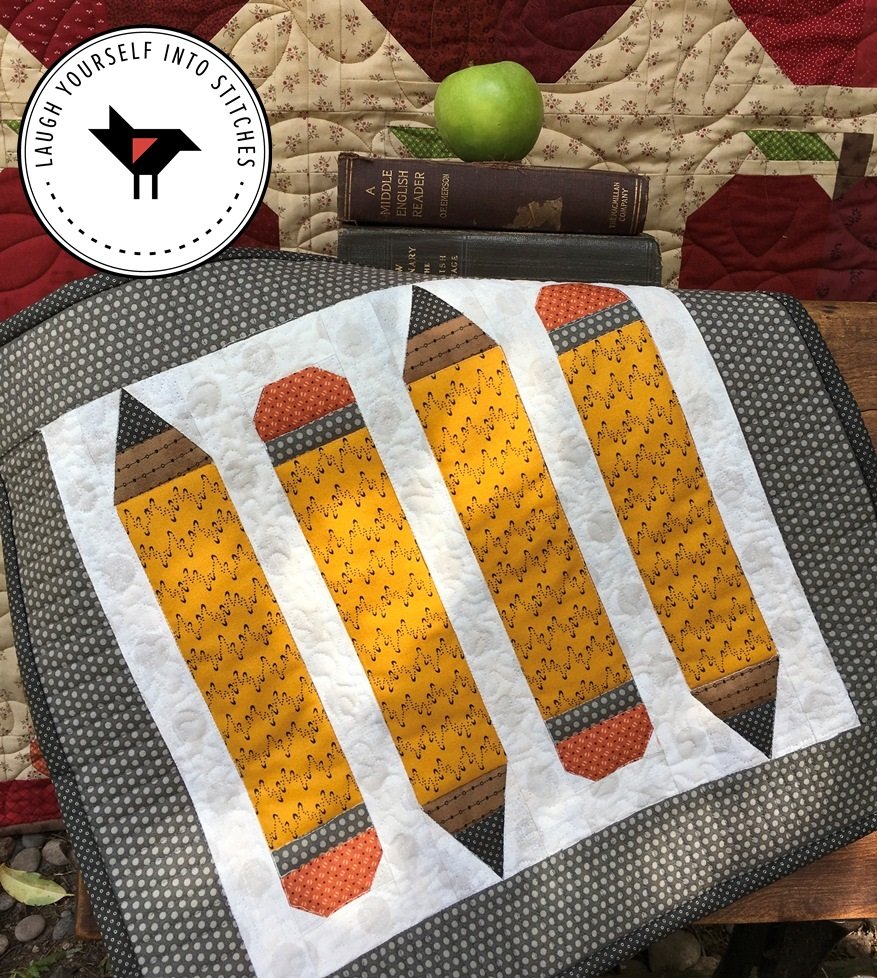
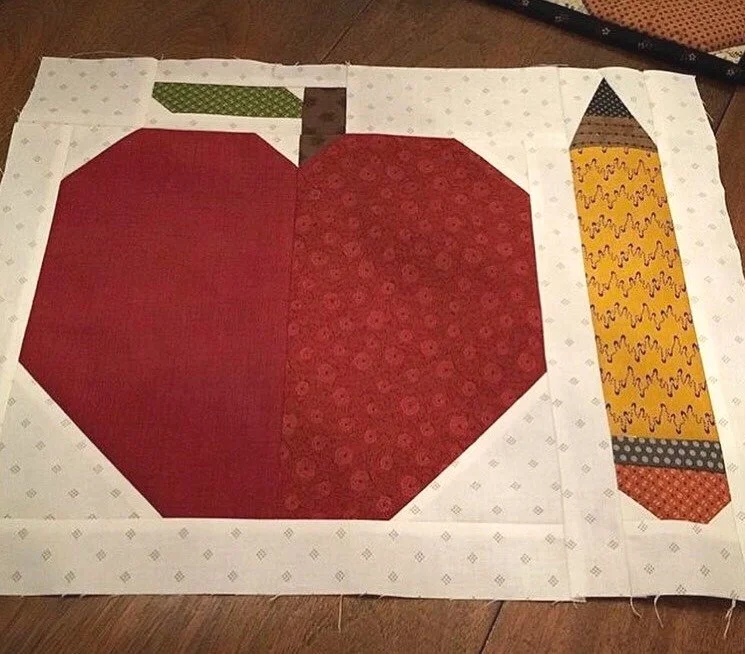
School’s in Session bonus pattern called Pencil’s Down

Color My World
Pencil tip tips....
I offer great little diagrams inside the pattern, but if i can help you by taking it one step further and add pictures, well... you know...they are worth a 1000 words! This may look like a lot, but once you master one, it’s super quick and easy!
Step One~~Marking
1. Sew together 2 rectangles, one representing the wood and the other the lead pencil tip.
2. Fold this unit in half to determine the center and mark the center of the pencil led fabric.
3. Add a second and third mark 1/4" on either side of the center line.
4. The 4th mark will be drawn on the wood fabric, 1/4" in from the edge. Repeat this marking on the opposite side.
5. Draw a diagonal line from the 1/4" off center mark to the 1/4" side marking. Repeat of the opposite side.

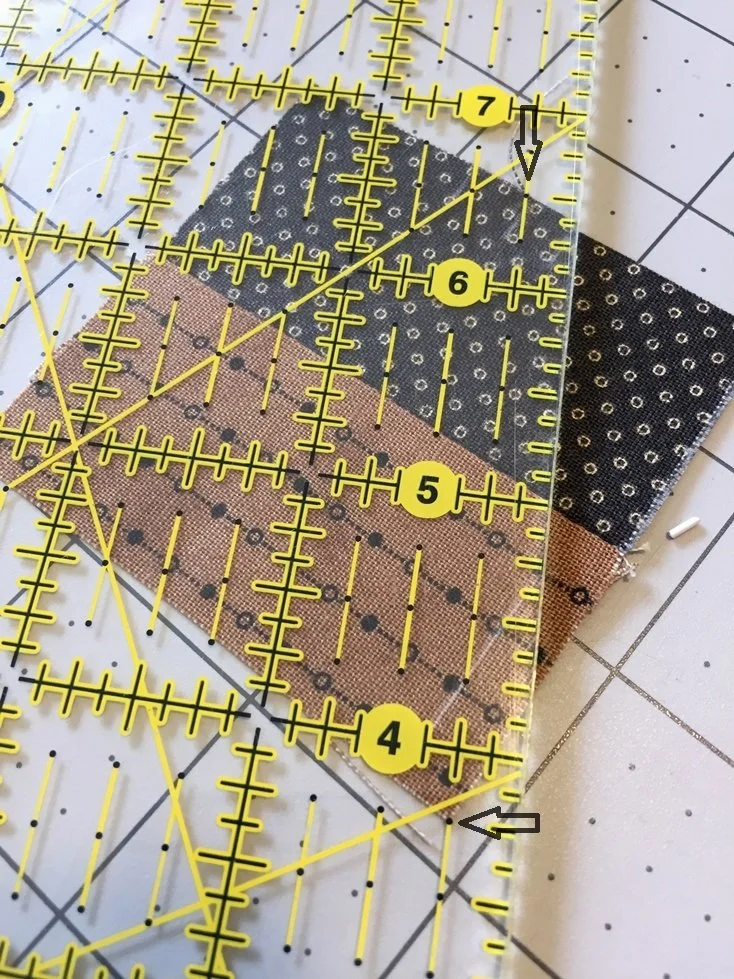
Notice the 1/4" line on the ruler is directly over the center mark and through the bottom corner. See the 2 arrows below. Then draw the line...shown in the photo above.
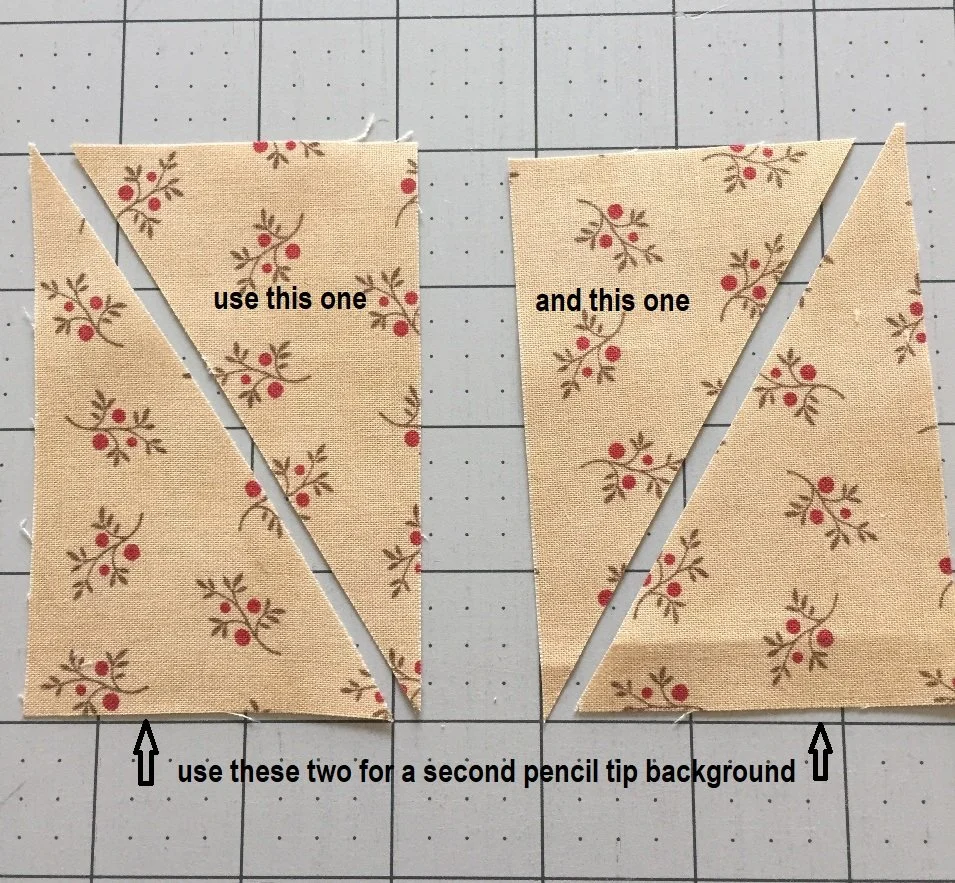
Step Two~~Background Fabric
1. There are 2 background rectangles, each cut on the diagonal but from opposite corners. You will need one triangle from each to create a mirror image.
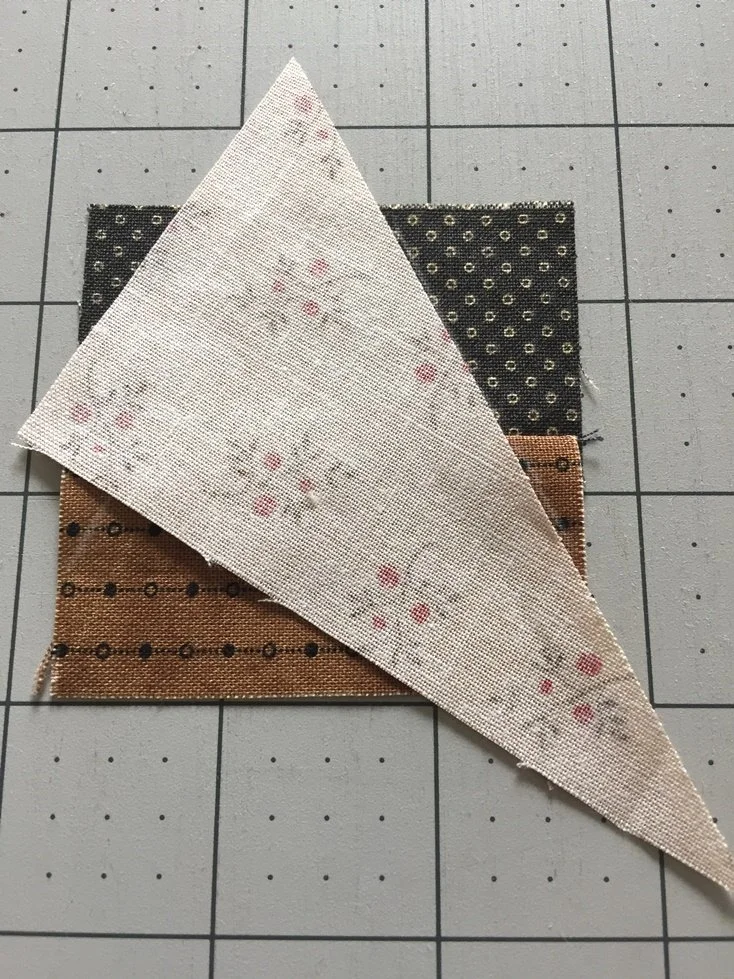
Step Three~~Creating the Pencil Tip
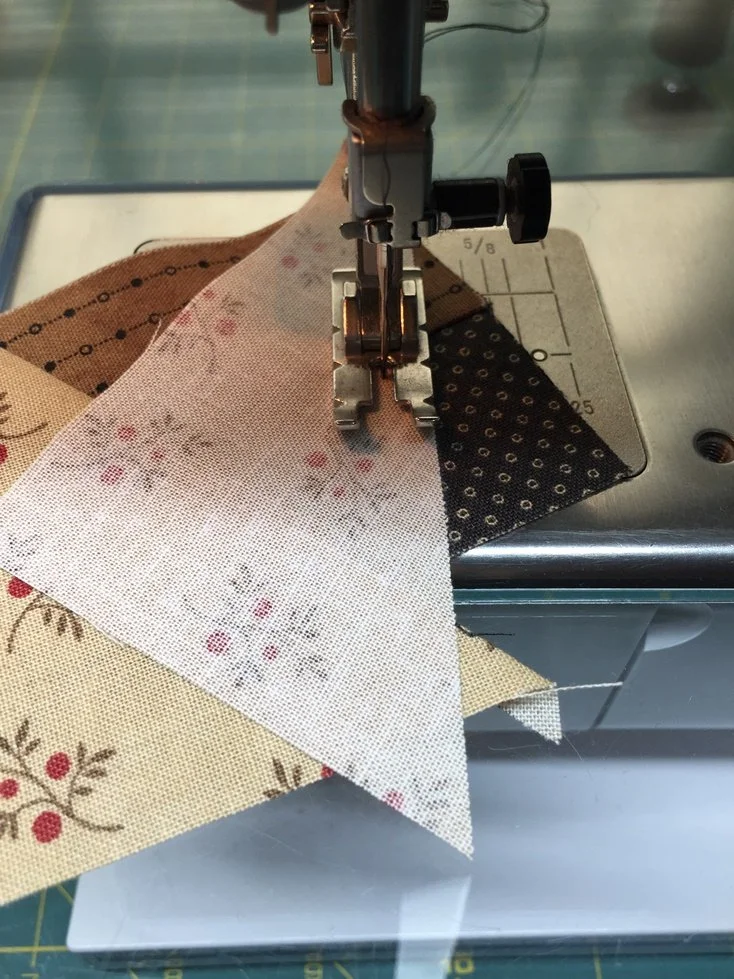
1. Place the triangle unit right sides together with the pencil led/wood section, lining up the triangle edge with the drawn line from Step One.
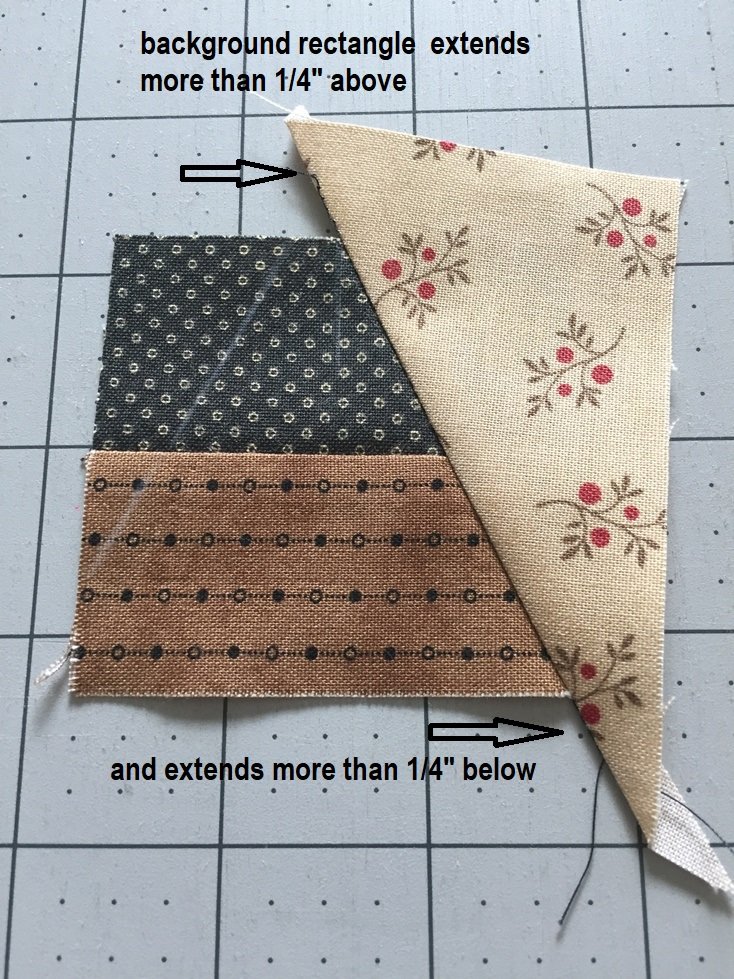
Note! The tips of the triangle will extend quite a bit beyond the top and bottom of the pencil led/wood section. Make sure you test the triangle position so when it is sewn, there will be more than 1/4" above and below...see 4th photo down.
2. Sew 1/4" in from the edge of the triangle and be sure to sew all the way down to catch the corner underneath.

3. Press seam. It will look like this...
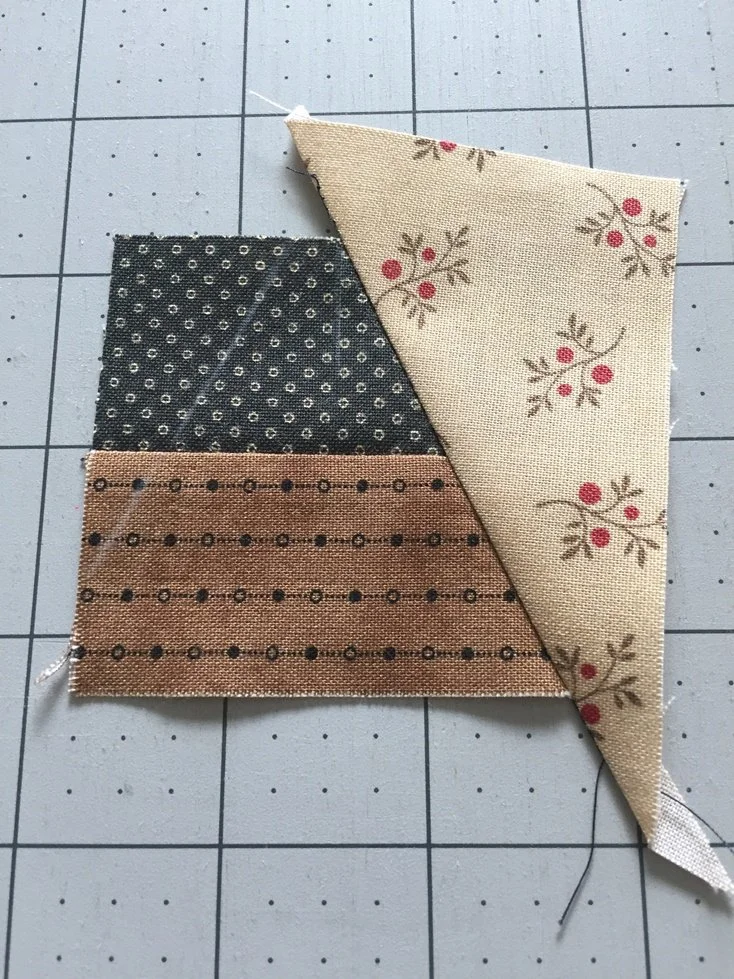
4. Line up the second triangle with the drawn line and sew into place.
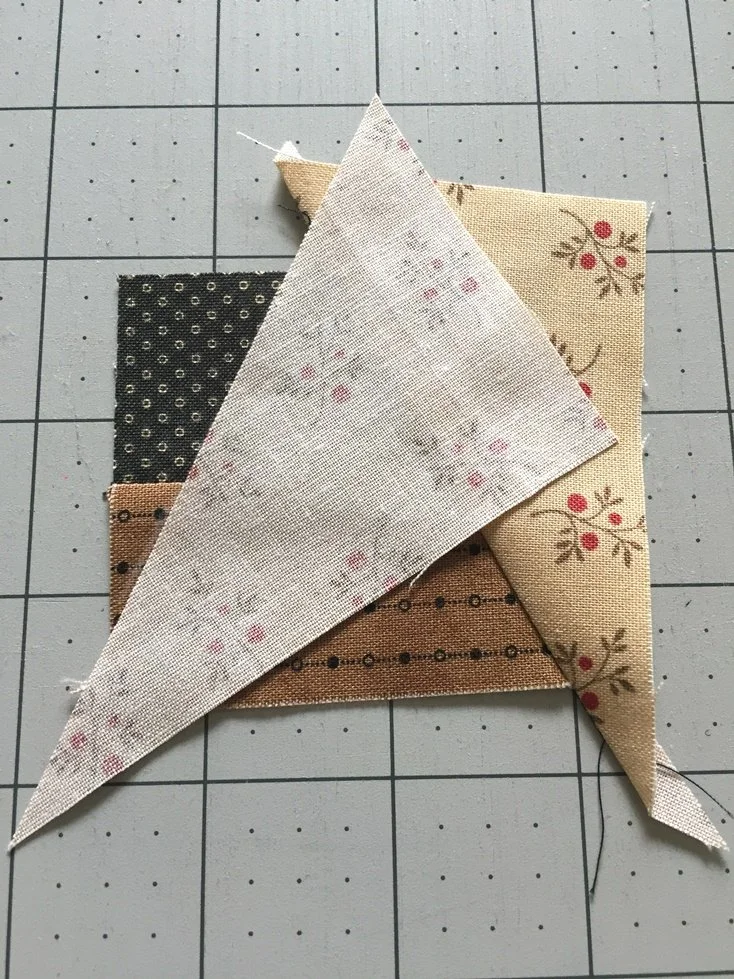
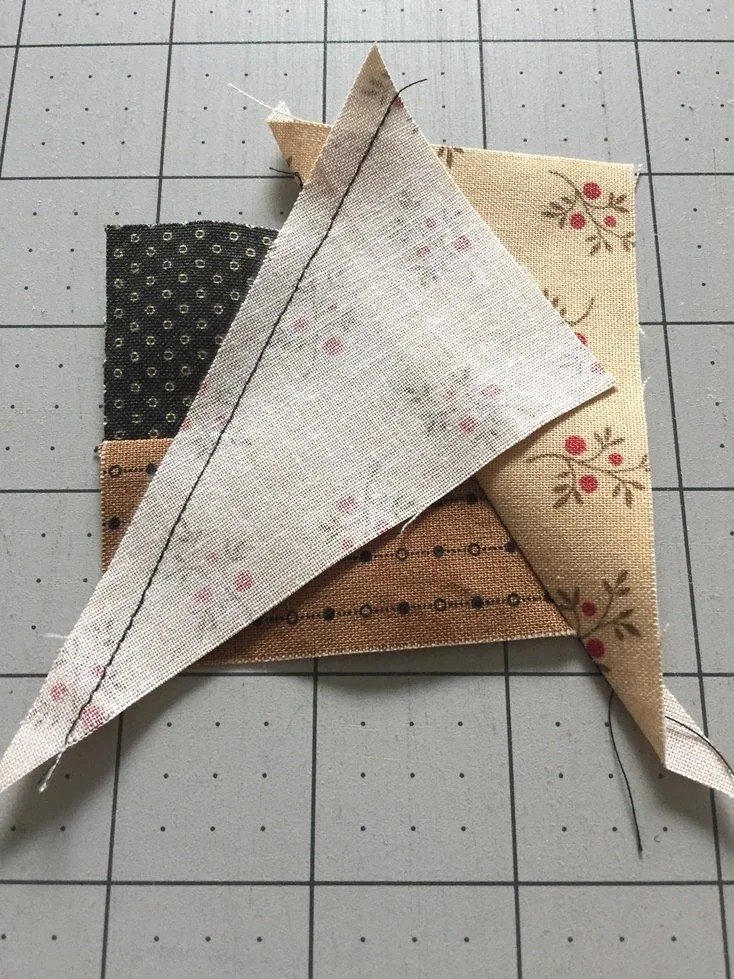
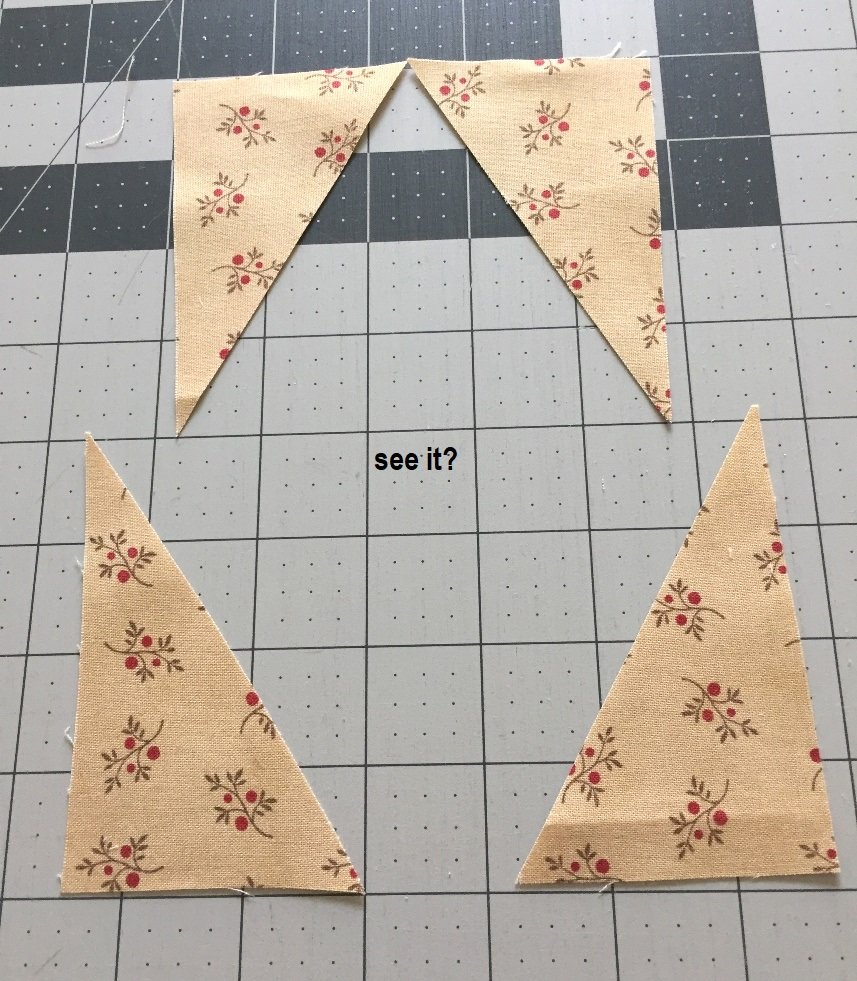
Your pencil tip background will look a bit wonky!
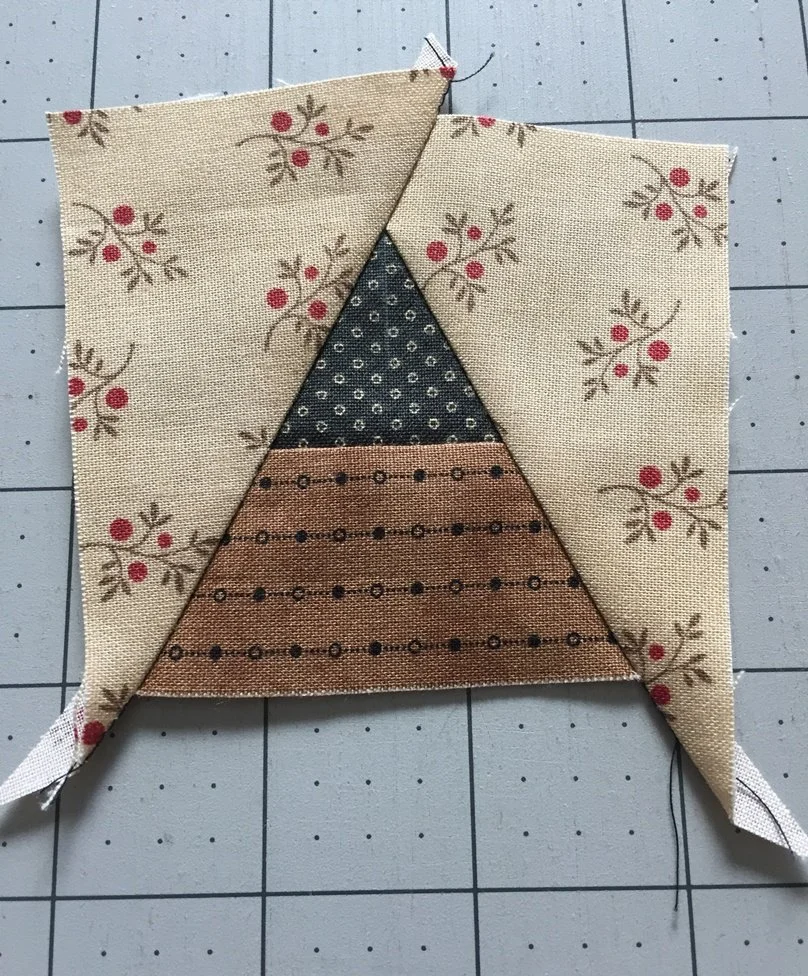
Step Four~~Trimming the Pencil Tip
1. Trim the right side of the pencil tip by placing the 1-1/4" line of the ruler through the center of the led tip AND line up the bottom with a straight ruler line....see arrows in photo

2. Trim the left side in the same manner as in Step 1.

3. Place the 1/4" ruler line next to the pencil tip AND line up a straight line across the pencil's side (see arrows). Trim. This creates a seam allowance above the tip.

4. Place a straight line on the pencil tip edge AND on the side of the unit. Trim off excess wood area to square up this unit according to pattern.

Here it is!
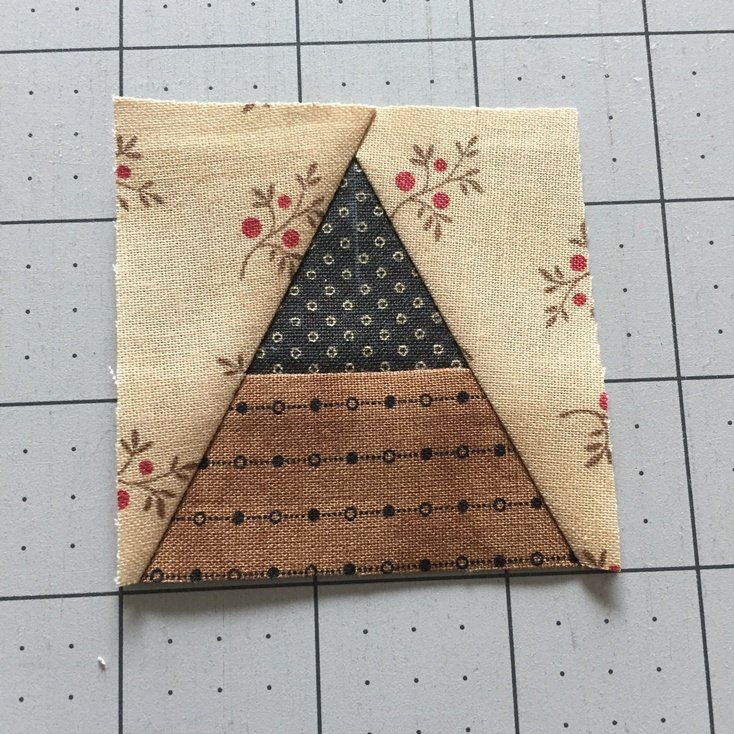
Trim away the excess fabric underneath.

Another helpful tip when sewing the pencils to the sashing strips
Sew from the wrong side of the pencils so you can see exactly where the seams intersect. You will want to stitch right through that intersection


This concludes the Pencil Tip Tutorial! Once you make one, you will be on your way! Hope you found this helpful!
School's in Session pattern includes this larger apple quilt with pencils surrounding each corner~~as well as the small Pencil’s Down wall hanging!
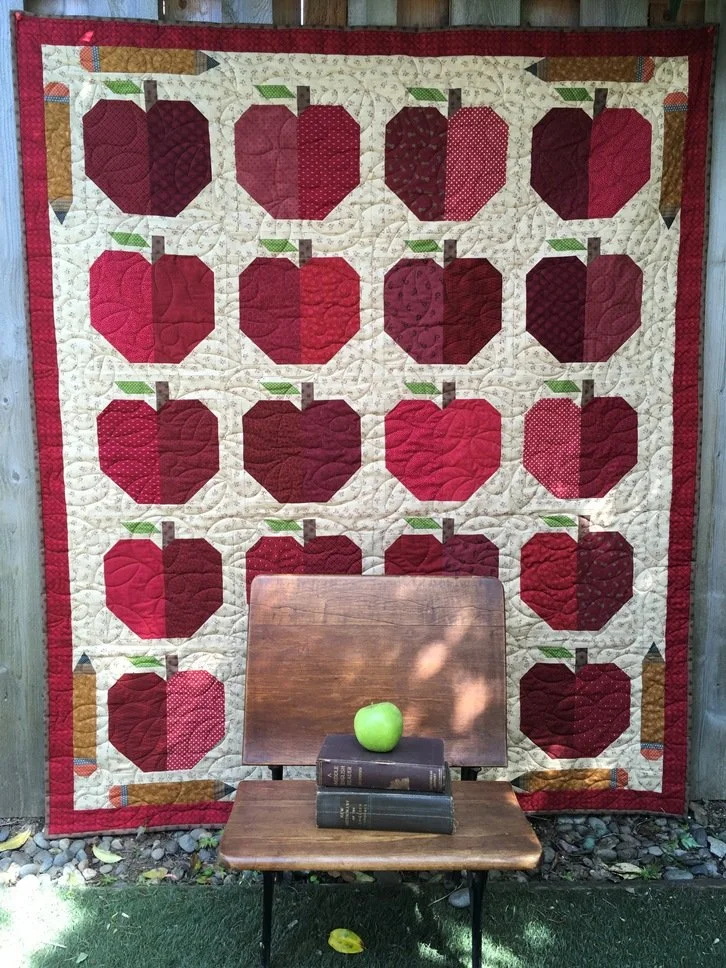
Or create your own version in something smaller … Makes for a perfect Teacher gift!
Create a rainbow of colored pencils in the Color My World Pattern
