
Curly Pumpkin Stem
Both patterns share the same stem section

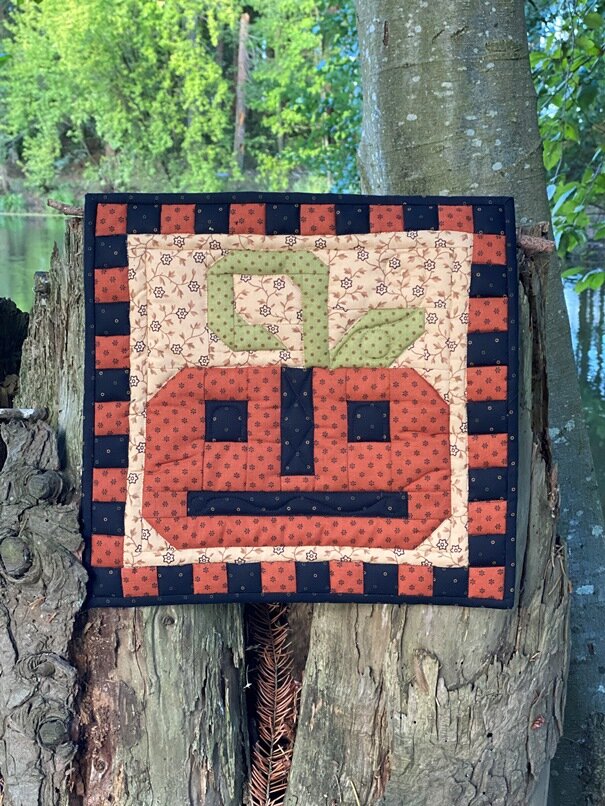
Photo and block: compliments of Rita Mulvey

Pattern ‘Sharing the Harvest’
In the pattern instructions under ‘stem section step 2’, you'll be creating a Corner Triangle using the background rectangle (e) and the green stem rectangle located to the left of (e). Once this unit is made, trim the background portion to the size indicated in the pattern. There should be at least 1/2" space between the green stem and the background fabric (to allow for a seam) as noted in the photo below.

With right sides together, stitch the stem unit in the photo above to the section shown in the pattern diagram and below.
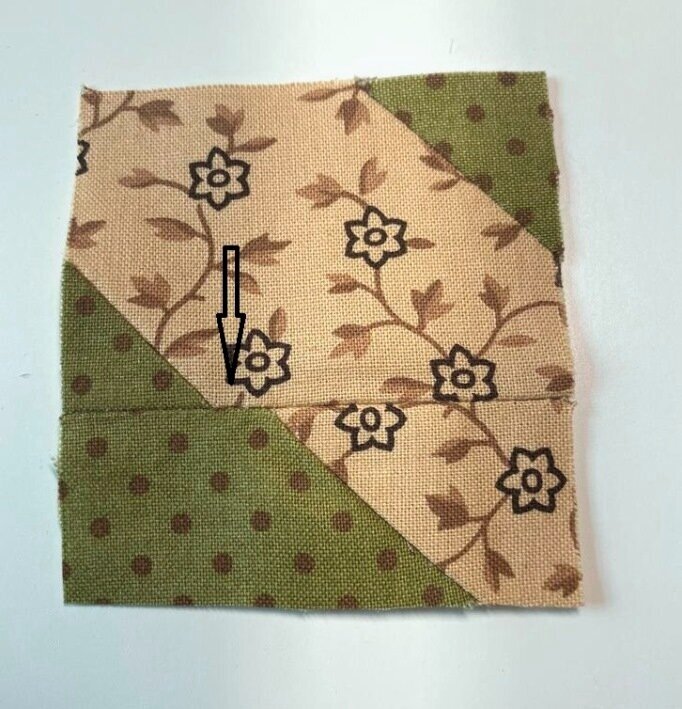
Depending on the accuracy of ones seams, the space between green Corner Triangle and the green stem portion (indicated by the arrow) may be smaller or larger when sewn together.
The rest of the stem unit is a breeze!
Take it one stitch at time and try to be as accurate as possible. Tips for accuracy can be found in the Golden Rules of Quilting tutorial.