Corner Triangle Method
Corner Triangles are used in so many quilt patterns and they are so easy to make! If you've never made one...here's a look at ‘how to’ and what to do if they turn out a bit wonky!

The apple shape is made using different sizes of ‘squares’ to create the triangles in each corner. They also help create the shape of the leaf.
Here’s how…
Start with the desired square size and place a 45 degree ruler line on the edge of a fabric square. Draw a diagonal line (corner to corner).


The same method can be used on a rectangle. As shown above.
Place the Corner Triangle ‘square’ or ‘rectangle’ right sides together with your base fabric.
Stitch on the drawn line, flip to reveal the right side of the fabric and press. I use Aurifil 50wt thread. It's lighter weight thread and when the fabric is folded over the stitched line, both fabric edges should line up well. I always stitch just a thread beyond the drawn line to allow for any thickness of the thread.


This is how a rectangle will look when placed right sides together…and below is how the unit will appear once sewn together

But what if your edges don't match up perfectly? Mine can be wonky at times!
Sometimes the Corner Triangle fabric will show beyond the the edge of the base fabric, as shown below. This is a result of stitching too far on the right side of the drawn line.

This is a very exaggerated example and I would totally redo it! You can see in the top left portion of the unit, the orange fabric is does not even line up with the base fabric.
But for example sake, if there is ‘hang over’, flip the unit over and trim even with the base fabric.

But what if the Corner Triangle does not cover the entire base fabric? This is the result of stitching too far to the left of the diagonal line. This is not as easy to correct because the 1/4 seam allowance will be compromised. At this point, you may want to redo the unit depending on how much of the seam will or will not catch a good portion of the Corner Tri.

So what Can you do if you choose not to redo?

When sewing the Corner Triangle unit to another piece of fabric, place them right sides together, using the base fabric edge (black fabric in this case) as your guide. Line it up to the edge of the green fabric underneath and stitching a 1/4" seam.

In the example above, I would remake that Corner Triangle. Why?
It appears there is too little of the orange fabric that will be caught in the seam allowance. Eventually it would compromise the integrity of the seam. Make sure you have enough of the Corner Triangle to truly capture a significant and strong seam.
Then there is the question of trimming the extra fabric underneath a Corner Triangle.
I tend not to trim the Corner Triangle if the square or rectangle is 1-1/2” or smaller. Just my preference.
Some will trim the middle piece, leaving the base intact underneath the corner triangle fabric. This does not eliminate all the bulk, it does provide an opportunity to line up the base fabric to the next piece.
Some will trim both extra layers underneath a Corner Tri.
I tend to let the quilt tell me what to do. In the photo below, I trimmed all the Corner Triangles in the Apple and Leaf sections. The block has a light background and I don’t want any red or green showing underneath.
I do think it is important to be consistent.

I hope you found this Corner Triangle segment helpful! Soon I will be adding a fun step when creating Corner Triangles you will not want to miss!
Stay tuned for the next tutorial coming at the end of June 2021.
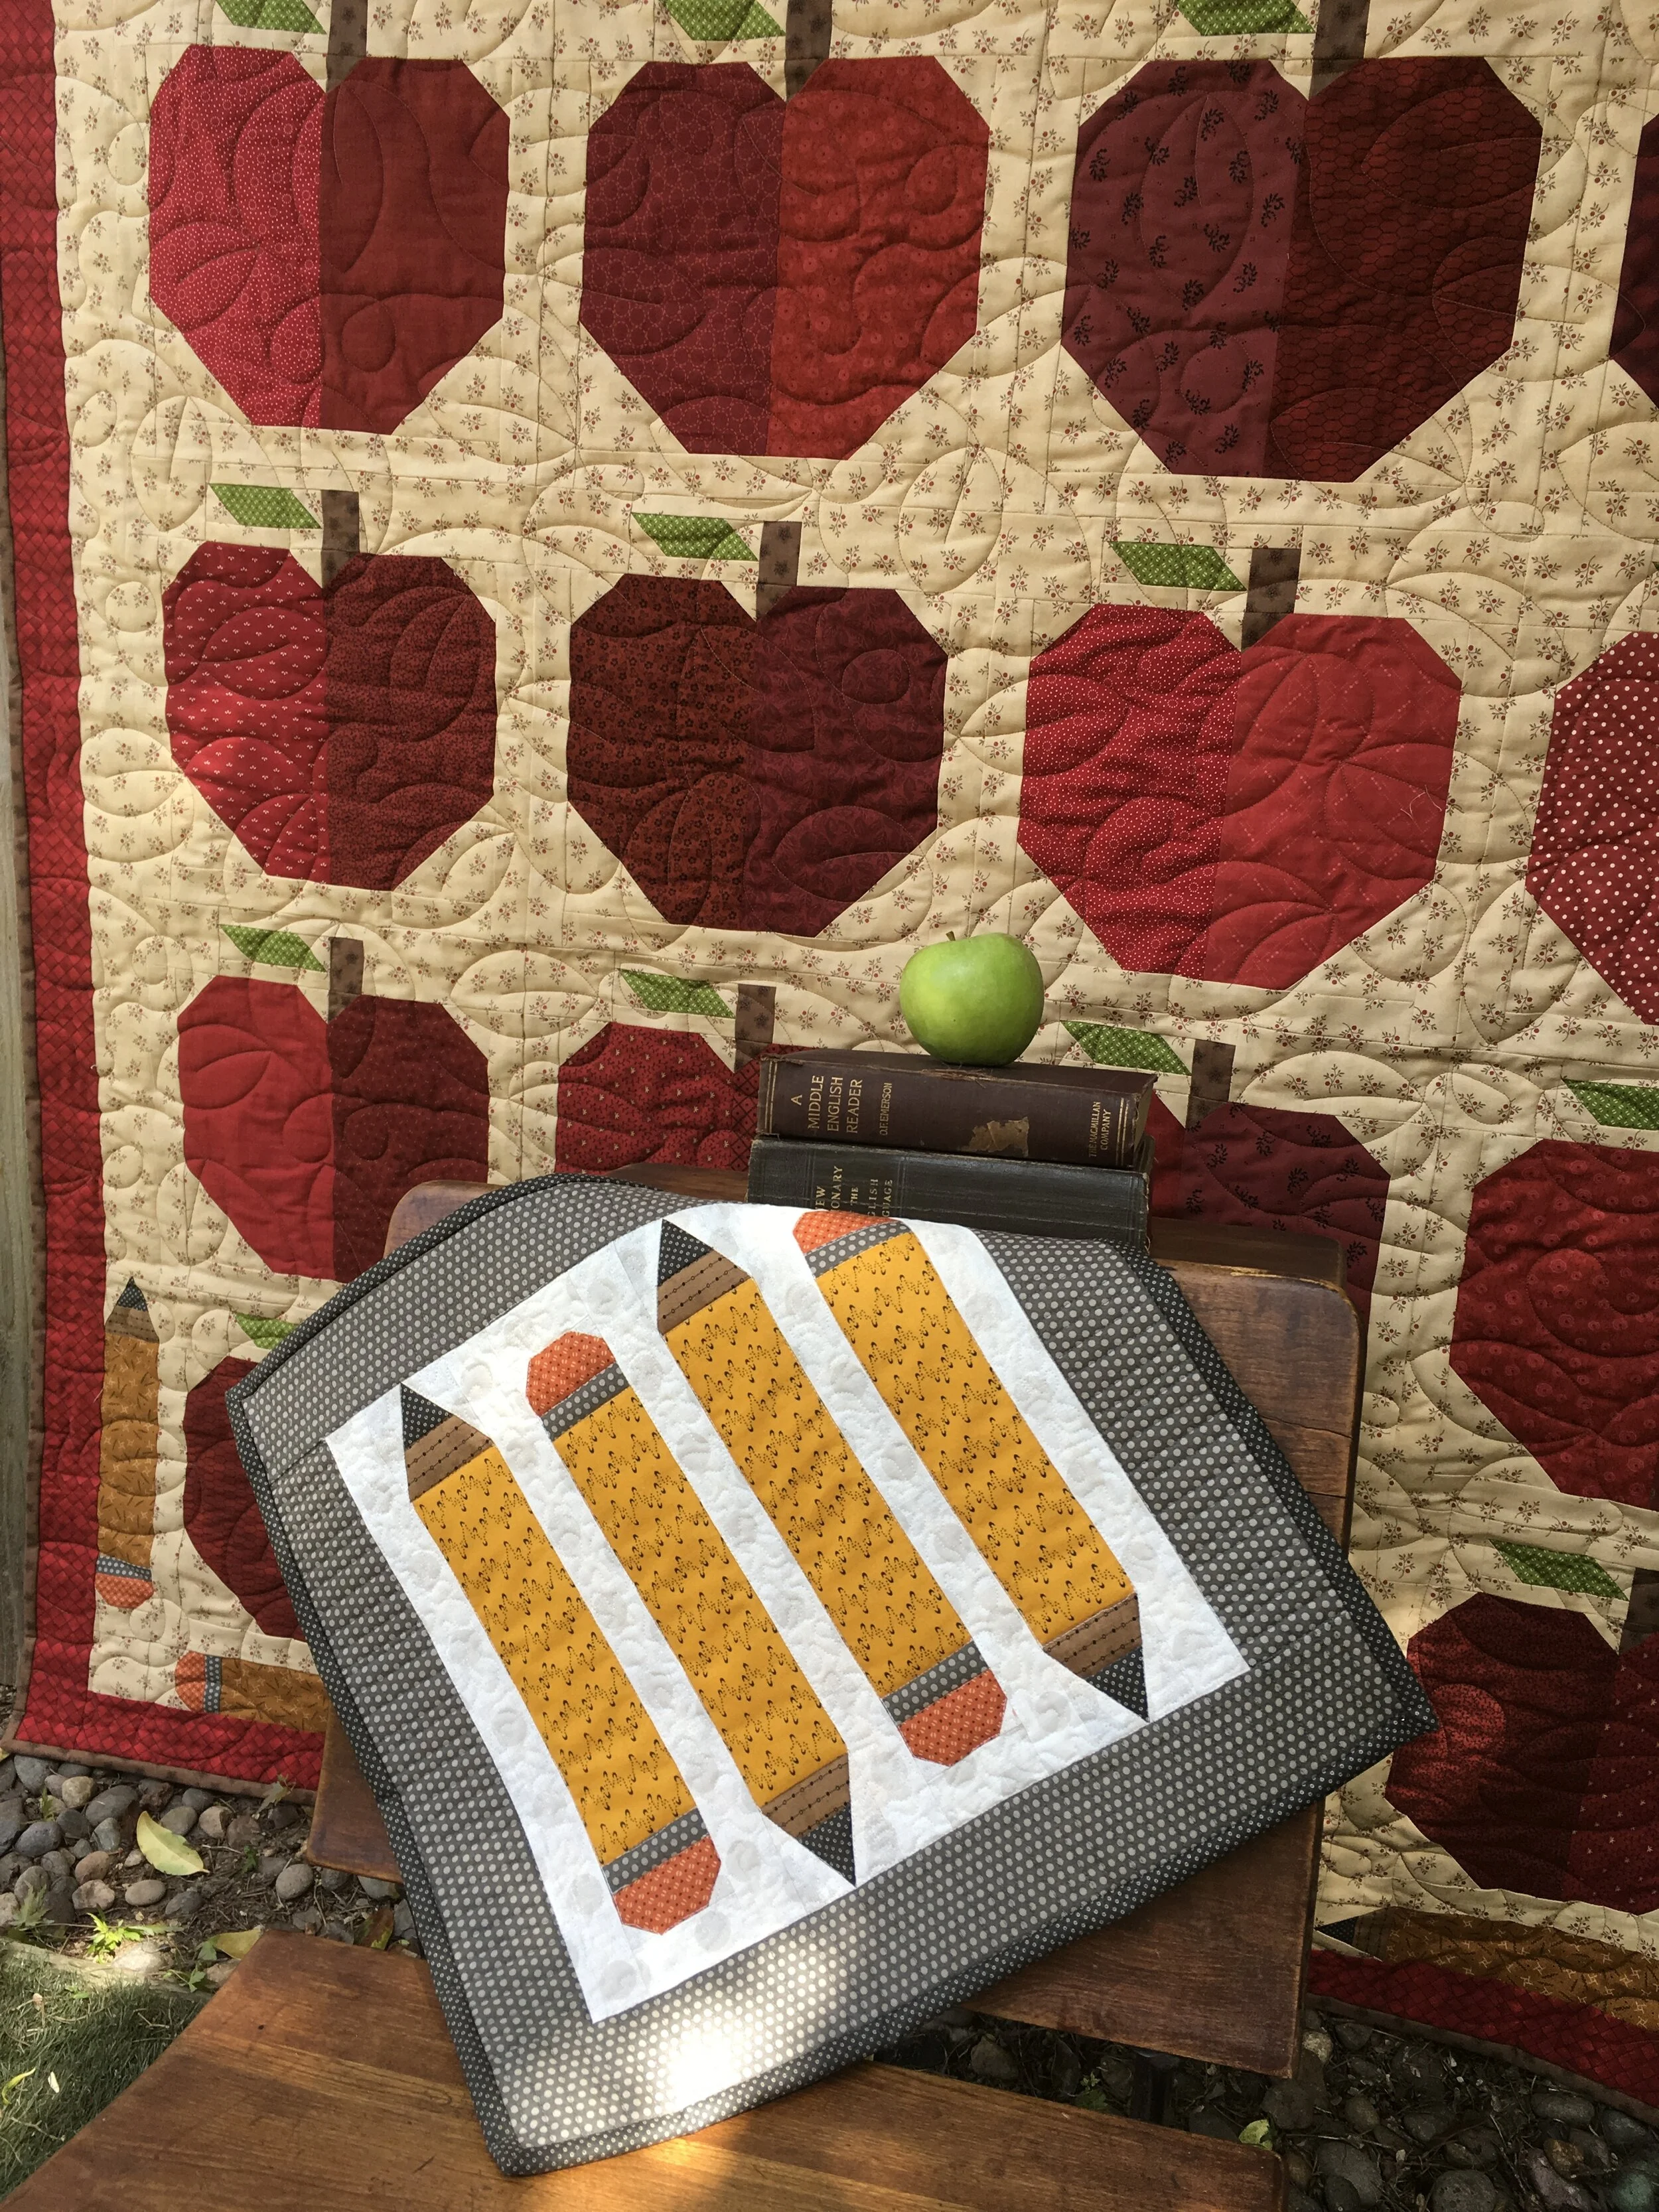
‘School’s In Session’ is a fun quilt to make AND practice the Corner Triangle method!
It also includes a second pattern project called ‘Pencil’s Down’. Available in pdf form or mailed copies today.